Posts Tagged ‘gluten net’

Cool Pizzas and Breads in February

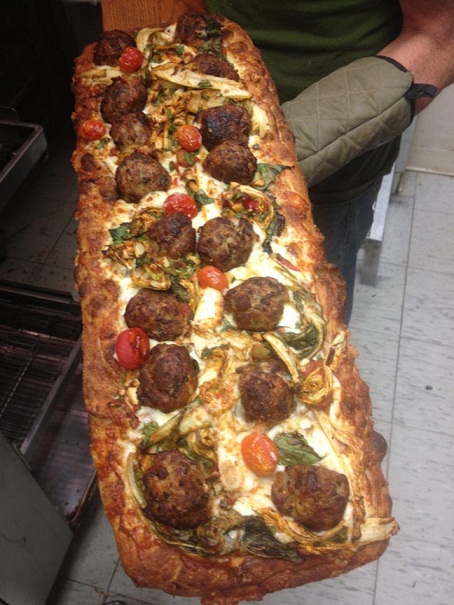
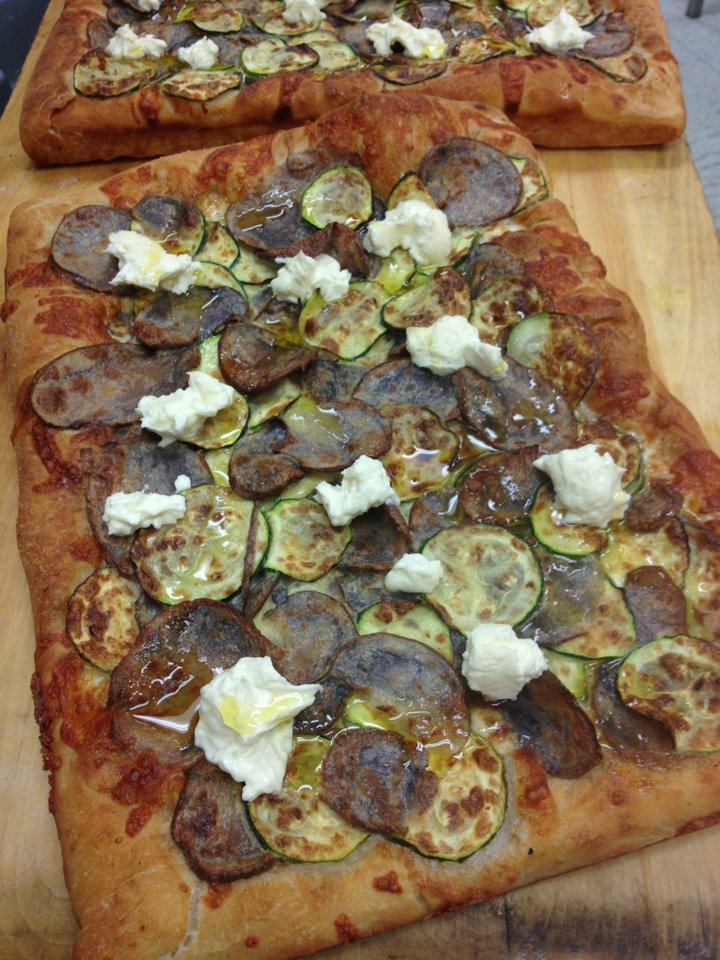
Yea, it’s cold standing in a giant parking lot in February but as I monitored the weather channels over the past few days, I saw a window of opportunity this Saturday to bake some killer breads and pizza variants. I made the pan pizza (above) that was my ode to a pizza I saw at the Campo di Fiori in Rome, Italy. This pizza carried sliced zucchini and Peruvian purple potatoes tossed in egg and Parmesano and baked on a wonderfully creamy and crunchy Sicilian-style dough with an aged mozzarella and provolone.  The best part was the creamy Bellwether Farms Crescenza, from Sonoma County, California.  In spite of the cold weather, we sold out in a few hours. Thank you sunshine, farmer’s market customers, Avalanche General Manager Joel Fair, the staff and Laura for hanging out in the cold.
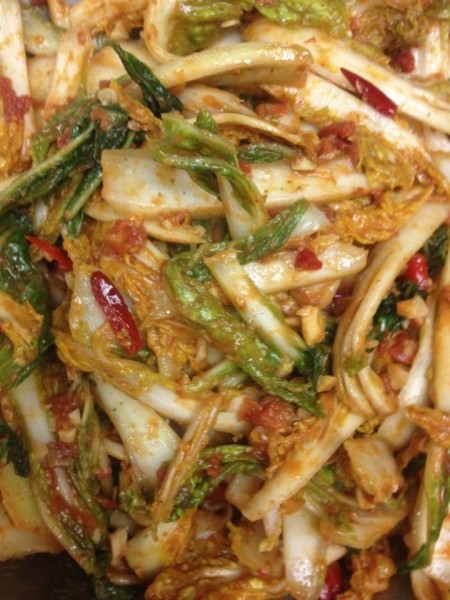
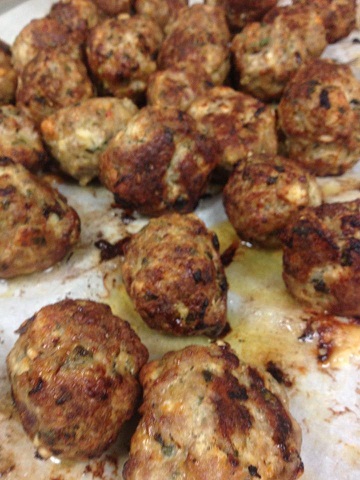
    

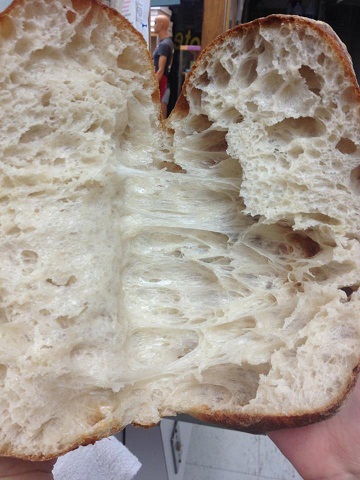
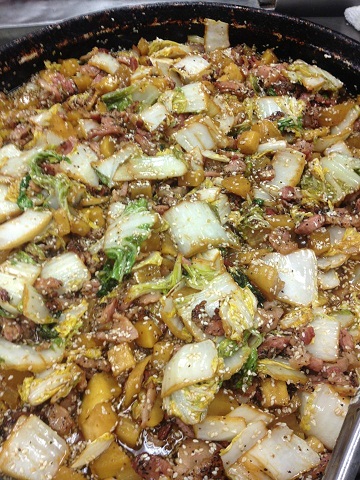
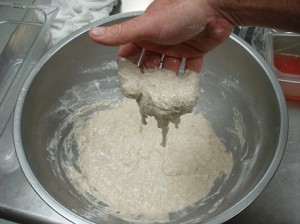
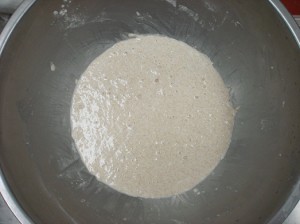
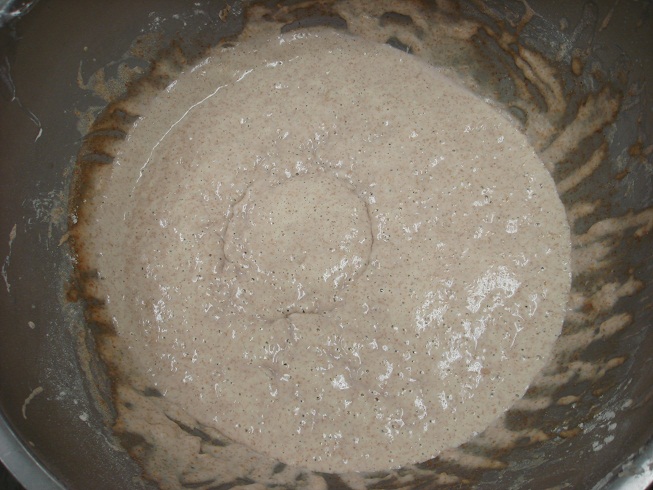
I recognize that my culinary efforts sometime skirt the realm of madness but I ignore it because the Italian kimchi I made (top left) was the BOMB! Just like Korean kimchi, I used the traditional combo of fish, garlic and chilies. My creation consisted of napa cabbage, roasted garlic, lemon zest, sun-dried tomato pesto, anchovies ground into a paste,  some excellent imported Calabrian chilies and oil for a great zing. I used King Family pork to make some fabulous meatballs (above middle) with chopped garlic, pizza cornicione breadcrumbs, red onion, rosemary, fennel seed, fresh basil, pepper flakes, salt and pepper. I made a a poolish on Tuesday of almost 100% hydration that spent the night in my mixer. On Wednsday morning, I mixed a Bianca dough with a high protein flour and 70% hydration using the autolyse method. See the gluten net as I tested the window pane (photo above right).
 

You may think this is high-maintenance but the glorious pizza these maddening combinations produced was spectacular! The Bianca dough came out great (above left) and I topped the dough with aged provolone and mozzarella, the Italian kimchi, fresh basil and fresh mozzarella for a big OMG! The pizzas sold out incredibly fast (above right). Man, you should’ve smelled these bad boys as they popped out!
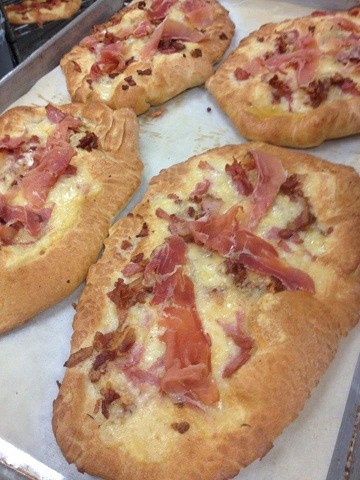
 

Along with the above monstrosity, I had time to put together my favorite combo: Gruyere cheese and curry (above left). I roasted onions with curry powder and then added raisins to re-hydrate. I used a 16-ounce schiacciata dough topped with fresh spinach, the curry mix and imported Gruyere! Holy Moly is all I can say. I also made a smaller but equally potent schiacciata with a harder dough called “Dr. Jekyll and Mr. Swiss” (above right). Ironically, this had absolutly no cheese made in Switzerland. The Finlandia Swiss and the stronger French Emmental paired with local ham, bacon and some shaved imported Serrano ham I just picked up.
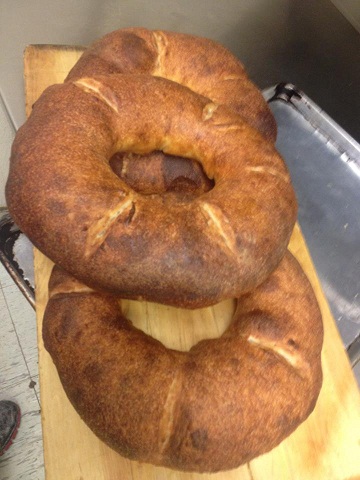
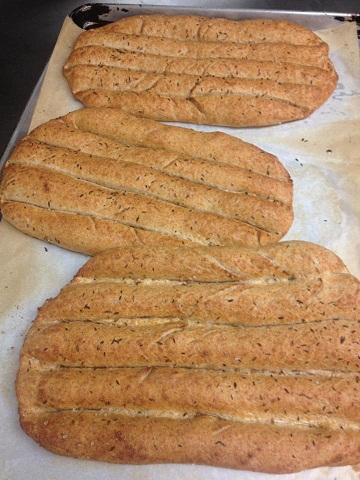
  

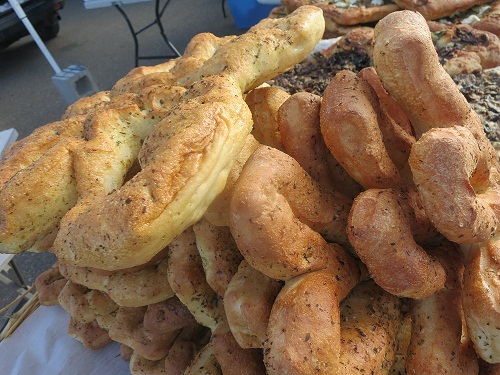
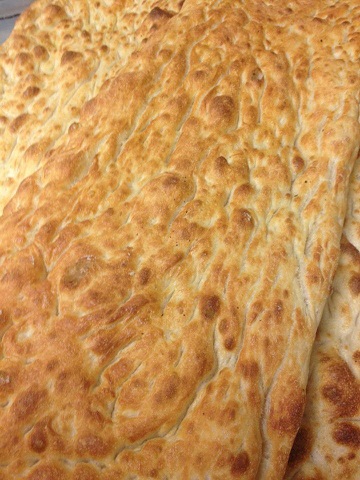
The breads I made included the massive Flintstone Wheel (a Tortano-style uber-couronne, photo top left), my lebanese Barbari using local Amish spelt from Shagbark Milling and Seed with extra virgin olive oil, sea salt and toasted cumin seeds (shown in the middle), and the sea salt and herb fougasse with extra virgin olive oil (above left).
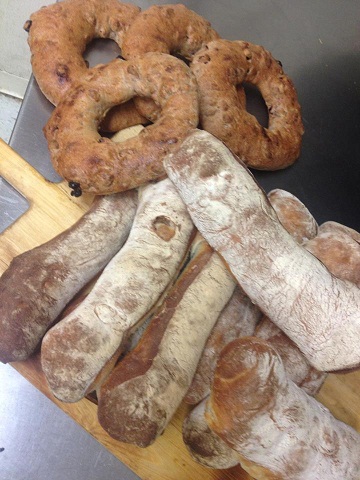
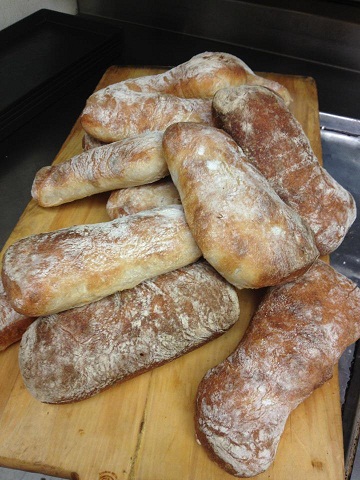
  

I just love making ciabatta loaves! This weekend we made some large loaves (left) with a local spelt couronne studded with cherry and walnut. We also made a small ciabatta (middle) into two types of sandwiches: the first an imported Serrano ham from Spain with arugula, pistachio pesto, tomato and imported brie, and the second a Caprese sandwich with fresh mozzarella, basil and tomato. I especially love looking at the crumb on ciabatta because of the irregular cells and the shiny gluten strands that indicate a killer loaf!
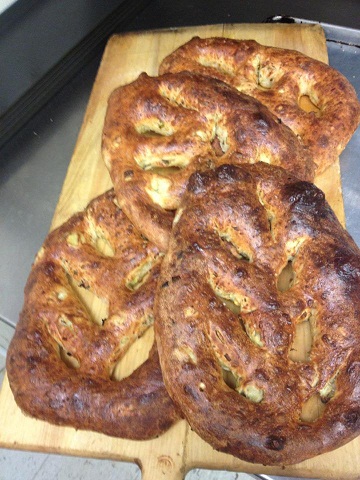
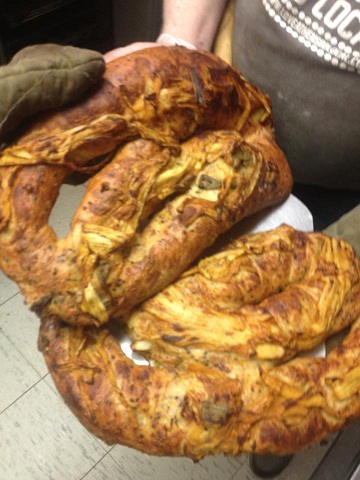
  

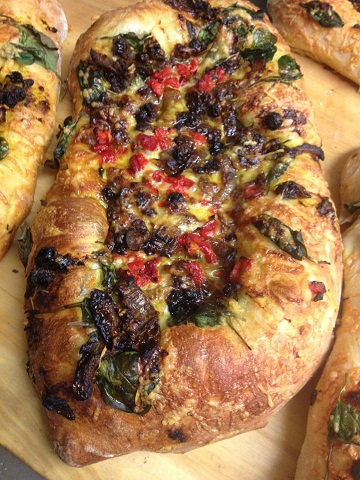
Last but not least is the always popular Leek-a-choke fougasse (above left) with leeks, artichoke and parmesan cheese. A very special fougasse I made this weekend included a Thai-inspired flair (above middle) and included pad Thai, roasted napa cabbage integrated with local peppered bacon, pickled local Amish daikon and tons of black and white sesame seeds. As the fougasse rested, I topped it with a four-month-old curried kimchi that I marinated in a Thai peanut sauce for three days. Man, talk about FLAVOR in capital letters!

Anyway, if you’re still with me and my mania, check out this video before the market at set-up time. I screwed up some introductions like saying ‘Fiore del campo” instead of Campo del Fiore and some other stuff but that’s what you get when an old man bakes all night. For those of you wondering, yes: my hands are sanitized.

Wild Yeast Pizza Levain (or Starter)

I’m so excited about this pizza and can’t help feeling like Dr. Frankenstein. I wanted to scream, “It’s aliiiiive,” just like Gene Wilder when this Pizza Margherita came out of the oven. Like when I see a crispy baguette or ciabatta finishing it’s bake in golden brown splender; it’s that feeling of triumphant finality that I made something from nothing, that I didn’t screw it up (again) and all the planning, hard work and patience paid off in spades.

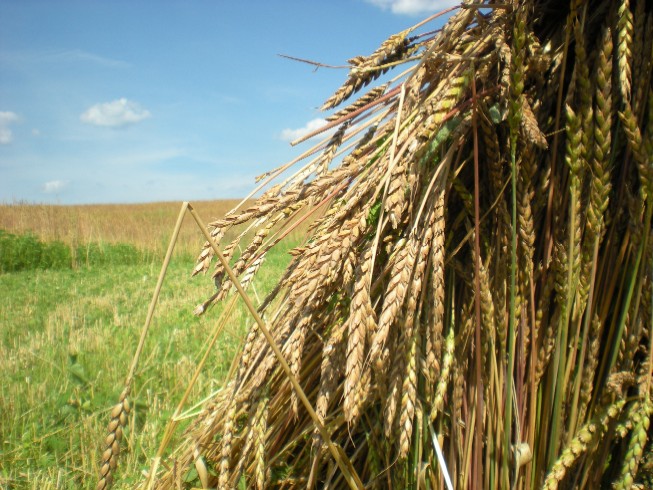
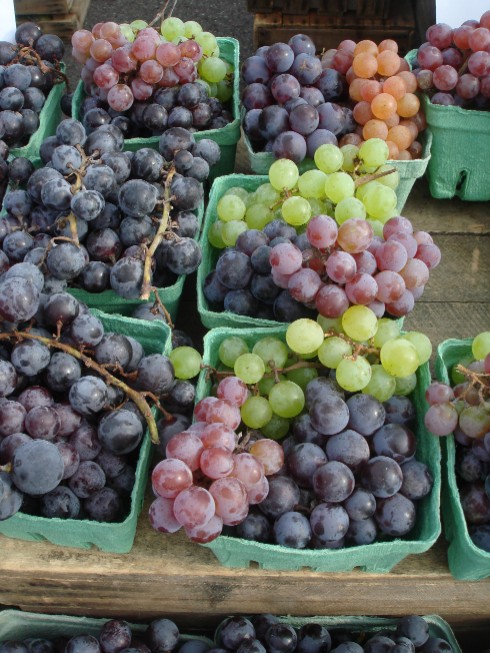
Spelt bundled in a Chesterhill, Ohio field and Neal Cherry’s stellar grapes make the beginning of a great pizza.

I did this pizza because I’ve received numerous questions about using a naturally obtained yeast in a pizza crust recipe. Some people refer to a “Yeastless Pizza Recipe” but that really isn’t true because yeast is everywhere.  It’s one of the oldest known cultivated organisms and has been found by archeologists in 4000 year old egyptian bakeries.(Now that’s “Old School!”)

To create this pizza, I must first capture wild yeast and ferment it with 3 things, a warm environment, flour and water. The yeasts will multiply producing carbon dioxide, lactic acid and alcohol which will in turn change the texture and flavor of the dough. The gas raises the dough while the lactic acid adds the flavor. Capturing the gas in cells which can be seen in bread and pizza dough depends upon “The Gluten Net” that is formed by the strength of the flour.

So, this process of creation is fairly easy if you’ve got the time, temperature, yeast and flour.

This starter or “Levain” (the French call it), is also called “Chef” or “Mother.”  Any bread or pizza crust really does taste more complex, nutty, malty and buttery than straight commercially raised yeasted dough. It does though take time and patience to complete the baking cyle. But the reward is the knowledge that you made a natural product using the air, earth, water of this planet. How’s that for sustainability?

Most bakers use this starter and fortify it with commercially raised yeast but for this recipe, we are gonna take it to the limit, with only wild yeast!

I could get extremely technical about this dough but I don’t have the time. Plus I’m not qualified, If you wish to know all the technical aspects about bread, just get “The Bread Bakers Apprentice” by my baking hero Peter Reinhart. His blog is awesome also. You can also go to my freind Tony Gemignani’s International School of Pizza in San Francisco where you can learn from an 11 time World Champion pizza maker everything you need to know about pizza.

Right now I just want to show you a way to capture yeast from nature, encourage the yeast to grow and produce bubbles of gas and make a great pizza with it. This is what it entails.

Finding wild yeast: Raisons, Apples, Plums, Peaches, Nectarines, Grapes, and even vegetables offer a landing zone for wild yeasts. You will find alot of wild yeast just cruisin’ around the air but these fruit and vegetables are best at capturing as much yeast as will need to facilitate a rise out of your pizza dough. Remember, the acid in certain vegetables may kill the yeast.

Getting the yeast to activate: We will use the simple method of just putting the yeasted fruit in warm, uncontaminated tap water for a period of 3 to 4 days. Don’t be stupid and use modified bottled water thinking it to be more “pure.” We are reveling in nature here, using an organic micro-environment for out pizza benefit! Bottled water sucks.

Adding the flour to the yeasted water: We will work to slowly bring the yeast to life by offering it natural proteins and sugars to feed on. Please don’t use bleached flour, organic is better and half whole wheat will add to the flavor.

Patience is indeed a virtue: We will wait on natures time to witness our harnessing of the miracle of fermentation. (Hopefully while drinking a beer, which contains yeast also.)

Don’t worry if you stray off course a little: If you put too much water or flour in the recipe, don’t worry, I won’t tell. It’s all a learning experience. Just make sure you label stuff or you will find yourself screaming “Who threw my starter awayyyyyy!”

Use this starter forever: If you follow a simple plan of feeding and retarding your starter, you can keep it forever. My freind Matt Rapposelli has a starter that is almost 20 years old. Cool!

Recipe:

For the yeast capture:

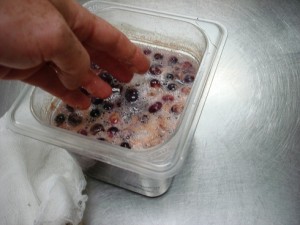
Here the goon starts the warm water bath for the grapes. How many did he eat after this video? About 20,(the pig)

Start with about 3 to 4 cups local organic grapes (seeded or not) obtained from the wild or a grape grower that doesn’t spray chemicals on the fruit. Other fruit will suffice but I’ve found that the spherical nature of each grape seems to capture more wild yeast floating through the air than other fruits. (DO NOT WASH THE GRAPES)

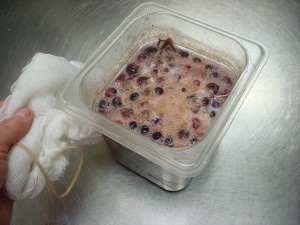
Put the grapes in 3 cups of spring water. Squeeze some grapes in the water to offer the yeast sugars to eat. Leave using cheesecloth and a rubber band for 4 days. Stir each day. In the end, the mixture will smell like wine or a combination of weak balsamic vinegar and wine.

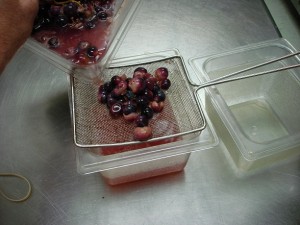
These are the grapes after 4 days.

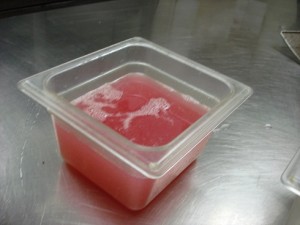
Strain the mix, disgard the grapes. Keep the cheesecloth. Always leave the grape water out on the counter, not in the fridge.

For the Starter:

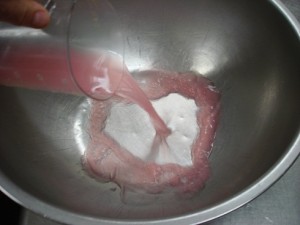
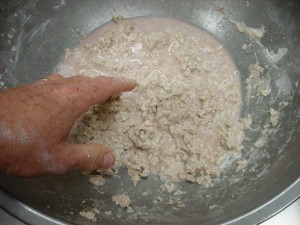
In a bowl, put 1 cup organic, unbleached bread flour (it has more protein than all purpose), 1 cup organic, whole wheat or spelt, half a cup grape-water mixture. Mix well and pour into a small container with the cheesecloth or a damp towel (the towel will be better for eliminating crust forming). Stir this mix every hour if you have the time, you will see it increasing in bulk and bubbles.

The first day of feeding:

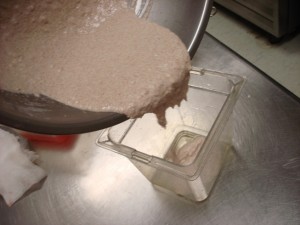
Take the day-old flour and grape water combination, (it should be starting to bubble) and mix it and 1 cup bread flour and 1/2 cup of the grape water in a bowl. Stir, leave in the bowl or transfer to a clean container,cover and leave for 24 hours stirring every couple hours.

Second day of feeding:

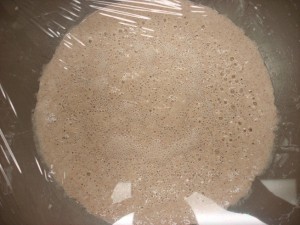
Wow! The mixture will start to tell you that it is activating by the smell of fermentation and by the bubbles. I used plastic wrap because of all the yeast flying around my store, but you can use a wet rag or cheesecloth.

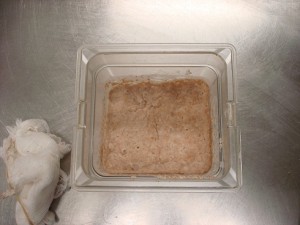
Repeat the same mix and measurements. Transfer to a clean container. After another 24 hours, this is what you will have. An active pre-ferment made by wild yeast.

Store this starter in the fridge in a covered container.

Feed your starter regularly, about 2 times a week. To feed it, take out one-third of the saved starter to add room and just add one cup of flour and enough water and stir well enough to make a thick sticky paste. Leave this at room temperature for 4 hours. Put it back in the fridge. If making a pizza or bread, always feed the starter about 12 to 24 hours out and leave it at room tempererat wiure.

If you forget to feed it, take it out of the fridge and coax it back to life by mixing flour and water into it. You can add a little beer to give it a kick, or a raison or two.

Please forgive me as my Three year-old has a fever tonight. Tomorrow, I will show you how I made the dough with this starter using no other yeast and the subsequent pizza.

Good night and don’t forget to feed your mother!