Posts Tagged ‘food writing’

Pizza Margherita using wild yeast pizza dough

This second post about obtaining yeast the old fashioned way, it deals with making a dough out of that starter. Simply put, it’s a great no yeast pizza recipe.

This will entail gently coaxing more and more yeast cells to take an active role in the feast of the sugars in my flour thus creating the gasses I need for the dough to rise. Then I will hit it with the heat for a nice tasty crust. Here’s my goonish explaination during a weeknight rush at Avalanche Pizza.


Recipe:

1 Cup starter from the Wild Yeast Pizza recipe. (last blog post)

1 Cup Bread flour

1 teaspoon salt

1 teaspoon extra virgin olive oil (optional)

**This recipe works best if you feed your starter the night before and leave it out to proof. This will enhance the feeding frenzy of the yeast and speed up the development of your dough.**

Mix one cup of the starter with one cup of the bread flour.

add the oil and the salt after mixing with your hand. If the dough is too stiff, add water. I prefer a stiffer dough but many bakers and pizza guys think a sticky, soft dough does a better job as it rises faster.

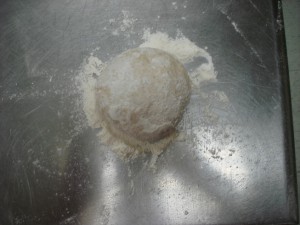
You now should have a 12-13 ounce dough ball, either cut in half (for 2 small 9-10 inch pizzas), or one do not cut (for a large 12-14 inch pie crust.)

Cover with a wet cloth and let sit for 1 hour. Then refrigerate for 4 hours. This will slow the yeast activation giving it time to slowly eat at the sugars. This aging process is what I use for all of my pizza dough the, making a better taste and a more consitant rise. ((*if you are impatient, and the dough is rising fast, please feel free and form your pizza round.))

It’s at this point that  I must remind you that you are working with all natural yeast now and it takes some time to get the intense rise as you experience with commercially bought yeast. This is why most bakers will add a small “Kicker” of store-bought yeast to boost the rise of the dough. If you are a purest, or just a masochist-like me, don’t do it. As you pass the months by, conducting the feeding process of your starter, the flavor will intensify and the rise in your dough will be more immediate and predictable. Now only after only 8 to 10 days, the natural yeasted experience is still in it’s infancy.

After the 4 hours in the fridge, let the dough balls sit out over night covered with a damp cloth to keep it from forming a crust.

By the next day, the dough should have risen. The gluten strands should be stretching now with the gasses. This is your proofed rise.

If you see holes or pits where the dough looks as though it is cracking where gas has escaped, your gluten strands may not be strong enough to keep the gasses in from either your flour not being strong enough or because your kneading was not consistant enough. Don’t despair, you can re-knead the dough and wait for at least 1 hour before continuing.

Preheat your oven at 475 degrees

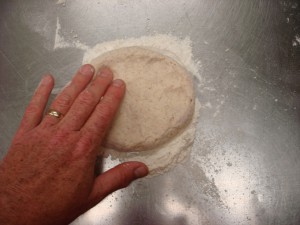
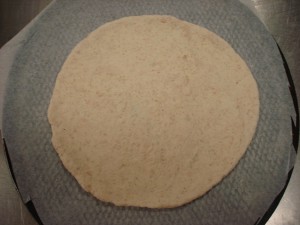
Take the dough and form a pizza round from the easy dough recipe in this blog.

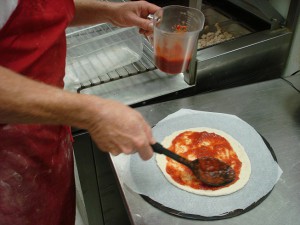
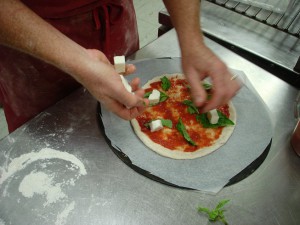
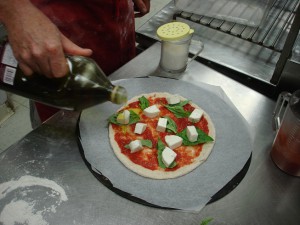
Top this pie with anything and everything you want. I started out simple because if I messed this up, I didn’t want to have to make all my toppings up again. I put a large spoonful of organic tomato sauce, some fresh basil, whole milk, fresh mozzarella, sea salt and extra virgin olive oil. (Here I put the pizza on parchment and on a pizza screen because I was using a pizza oven.)

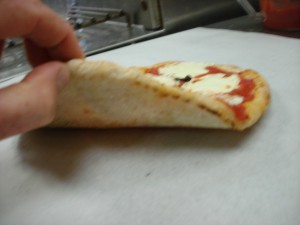
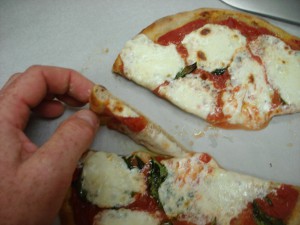
After 12 minutes at 475 degrees, the dough, although a thinner crust, rose nicely, showing a fine cornicione (corn-e-CHON-aye). This is the crust around the edge where you can see the cell structure formed by the gasses. Alot of Italian judges in competition will press down on this crust to test for a bounceback- a sign of a great cornicione.

Well, now that I have a great starter, I’m gonna grow this monster to make some bread. Maybe, if I get good at it, I’ll do another post on it.

Semper Pie

jg

Wild Yeast Pizza Levain (or Starter)

I’m so excited about this pizza and can’t help feeling like Dr. Frankenstein. I wanted to scream, “It’s aliiiiive,” just like Gene Wilder when this Pizza Margherita came out of the oven. Like when I see a crispy baguette or ciabatta finishing it’s bake in golden brown splender; it’s that feeling of triumphant finality that I made something from nothing, that I didn’t screw it up (again) and all the planning, hard work and patience paid off in spades.

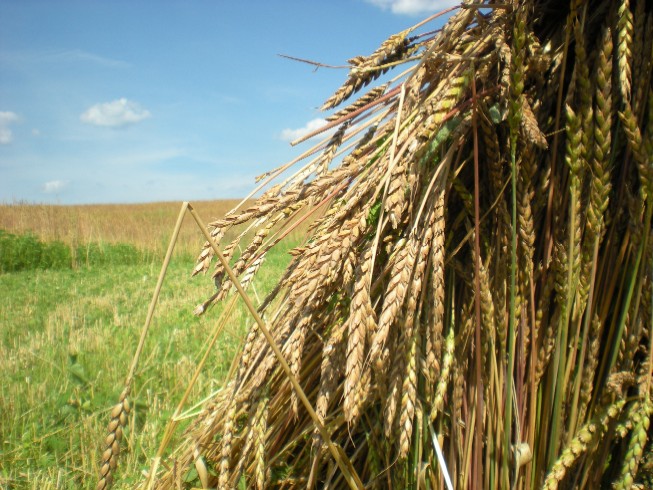
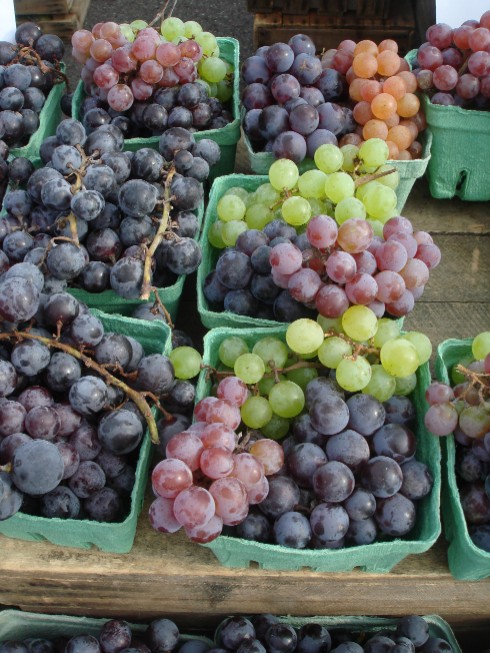
Spelt bundled in a Chesterhill, Ohio field and Neal Cherry’s stellar grapes make the beginning of a great pizza.

I did this pizza because I’ve received numerous questions about using a naturally obtained yeast in a pizza crust recipe. Some people refer to a “Yeastless Pizza Recipe” but that really isn’t true because yeast is everywhere.  It’s one of the oldest known cultivated organisms and has been found by archeologists in 4000 year old egyptian bakeries.(Now that’s “Old School!”)

To create this pizza, I must first capture wild yeast and ferment it with 3 things, a warm environment, flour and water. The yeasts will multiply producing carbon dioxide, lactic acid and alcohol which will in turn change the texture and flavor of the dough. The gas raises the dough while the lactic acid adds the flavor. Capturing the gas in cells which can be seen in bread and pizza dough depends upon “The Gluten Net” that is formed by the strength of the flour.

So, this process of creation is fairly easy if you’ve got the time, temperature, yeast and flour.

This starter or “Levain” (the French call it), is also called “Chef” or “Mother.”  Any bread or pizza crust really does taste more complex, nutty, malty and buttery than straight commercially raised yeasted dough. It does though take time and patience to complete the baking cyle. But the reward is the knowledge that you made a natural product using the air, earth, water of this planet. How’s that for sustainability?

Most bakers use this starter and fortify it with commercially raised yeast but for this recipe, we are gonna take it to the limit, with only wild yeast!

I could get extremely technical about this dough but I don’t have the time. Plus I’m not qualified, If you wish to know all the technical aspects about bread, just get “The Bread Bakers Apprentice” by my baking hero Peter Reinhart. His blog is awesome also. You can also go to my freind Tony Gemignani’s International School of Pizza in San Francisco where you can learn from an 11 time World Champion pizza maker everything you need to know about pizza.

Right now I just want to show you a way to capture yeast from nature, encourage the yeast to grow and produce bubbles of gas and make a great pizza with it. This is what it entails.

Finding wild yeast: Raisons, Apples, Plums, Peaches, Nectarines, Grapes, and even vegetables offer a landing zone for wild yeasts. You will find alot of wild yeast just cruisin’ around the air but these fruit and vegetables are best at capturing as much yeast as will need to facilitate a rise out of your pizza dough. Remember, the acid in certain vegetables may kill the yeast.

Getting the yeast to activate: We will use the simple method of just putting the yeasted fruit in warm, uncontaminated tap water for a period of 3 to 4 days. Don’t be stupid and use modified bottled water thinking it to be more “pure.” We are reveling in nature here, using an organic micro-environment for out pizza benefit! Bottled water sucks.

Adding the flour to the yeasted water: We will work to slowly bring the yeast to life by offering it natural proteins and sugars to feed on. Please don’t use bleached flour, organic is better and half whole wheat will add to the flavor.

Patience is indeed a virtue: We will wait on natures time to witness our harnessing of the miracle of fermentation. (Hopefully while drinking a beer, which contains yeast also.)

Don’t worry if you stray off course a little: If you put too much water or flour in the recipe, don’t worry, I won’t tell. It’s all a learning experience. Just make sure you label stuff or you will find yourself screaming “Who threw my starter awayyyyyy!”

Use this starter forever: If you follow a simple plan of feeding and retarding your starter, you can keep it forever. My freind Matt Rapposelli has a starter that is almost 20 years old. Cool!

Recipe:

For the yeast capture:

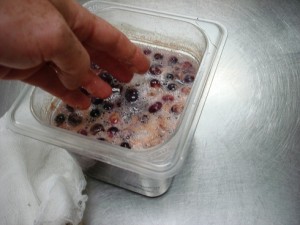
Here the goon starts the warm water bath for the grapes. How many did he eat after this video? About 20,(the pig)

Start with about 3 to 4 cups local organic grapes (seeded or not) obtained from the wild or a grape grower that doesn’t spray chemicals on the fruit. Other fruit will suffice but I’ve found that the spherical nature of each grape seems to capture more wild yeast floating through the air than other fruits. (DO NOT WASH THE GRAPES)

Put the grapes in 3 cups of spring water. Squeeze some grapes in the water to offer the yeast sugars to eat. Leave using cheesecloth and a rubber band for 4 days. Stir each day. In the end, the mixture will smell like wine or a combination of weak balsamic vinegar and wine.

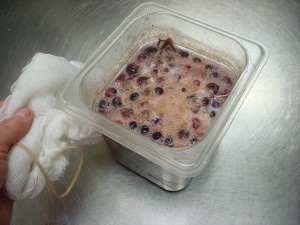
These are the grapes after 4 days.

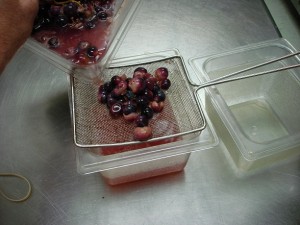
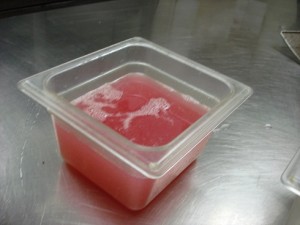
Strain the mix, disgard the grapes. Keep the cheesecloth. Always leave the grape water out on the counter, not in the fridge.

For the Starter:

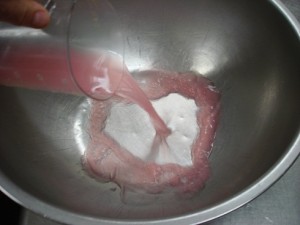
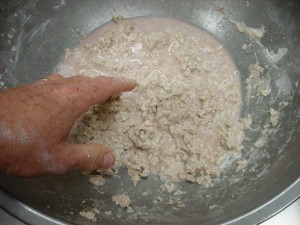
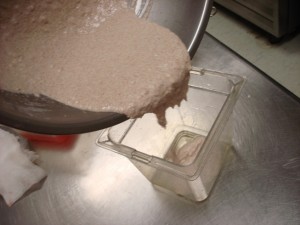
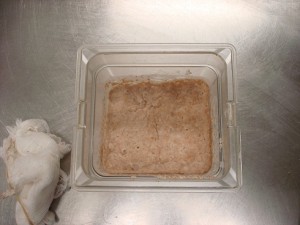
In a bowl, put 1 cup organic, unbleached bread flour (it has more protein than all purpose), 1 cup organic, whole wheat or spelt, half a cup grape-water mixture. Mix well and pour into a small container with the cheesecloth or a damp towel (the towel will be better for eliminating crust forming). Stir this mix every hour if you have the time, you will see it increasing in bulk and bubbles.

The first day of feeding:

Take the day-old flour and grape water combination, (it should be starting to bubble) and mix it and 1 cup bread flour and 1/2 cup of the grape water in a bowl. Stir, leave in the bowl or transfer to a clean container,cover and leave for 24 hours stirring every couple hours.

Second day of feeding:

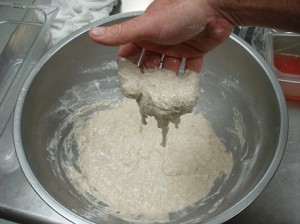
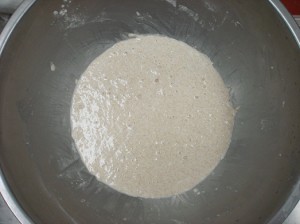
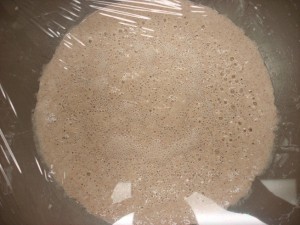
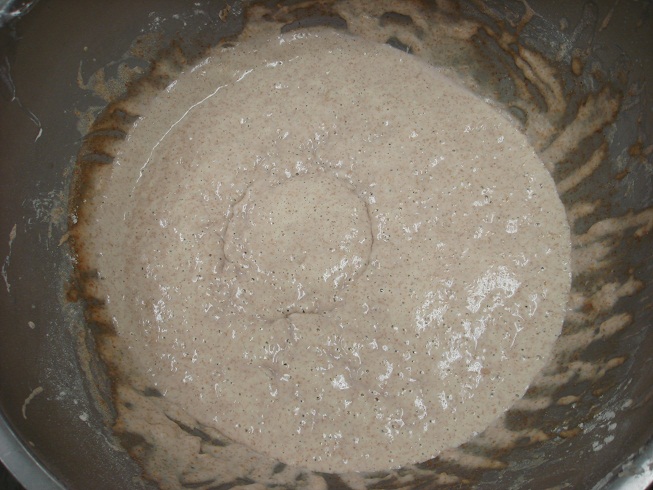
Wow! The mixture will start to tell you that it is activating by the smell of fermentation and by the bubbles. I used plastic wrap because of all the yeast flying around my store, but you can use a wet rag or cheesecloth.

Repeat the same mix and measurements. Transfer to a clean container. After another 24 hours, this is what you will have. An active pre-ferment made by wild yeast.

Store this starter in the fridge in a covered container.

Feed your starter regularly, about 2 times a week. To feed it, take out one-third of the saved starter to add room and just add one cup of flour and enough water and stir well enough to make a thick sticky paste. Leave this at room temperature for 4 hours. Put it back in the fridge. If making a pizza or bread, always feed the starter about 12 to 24 hours out and leave it at room tempererat wiure.

If you forget to feed it, take it out of the fridge and coax it back to life by mixing flour and water into it. You can add a little beer to give it a kick, or a raison or two.

Please forgive me as my Three year-old has a fever tonight. Tomorrow, I will show you how I made the dough with this starter using no other yeast and the subsequent pizza.

Good night and don’t forget to feed your mother!