Posts Tagged ‘tomato’

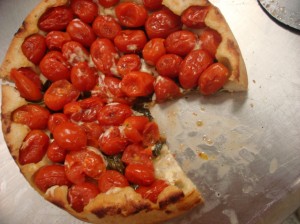
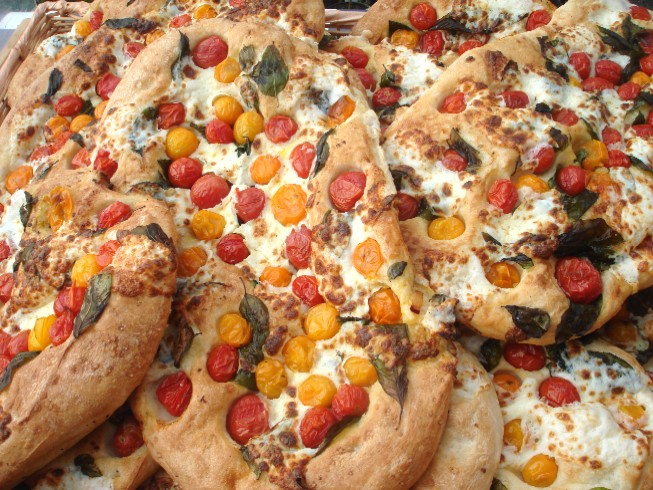
Cowdery Farms Schiacciata Margherita

pizza chowdery farms 012 July 2009 054

Cowdery Farms sits on a  fertile sloping bench above the Ohio River. Once you stop by and take in all it has to offer, it brings one word to mind: Impressive. Today I marvel at the many kinds of vegetables and the sincere kindness of owners Larry and Kim Cowdery, proud fifth generation stewards of the land. The passion with which they describe the food they grow shows they truly love what they do.

So, what’s here that a pizza fanatic like me hasn’t seen already? Plenty.
July 2009 049 pizza chowdery farms 016ii July 2009 073

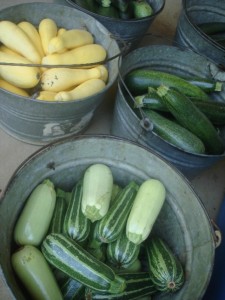
An assortment of squashes.  Golden cherry tomatoes. The movable greenhouse and river vista beyond.

Larry and Kim  have been selling produce at the Athens Farmers Market for 12 years. I’ve seen practically every restaurant owner in the area buy from this productive and hard-working couple. Their huge assortment of bok choy, napa cabbage, Thai eggplant and bitter melon makes them a destination for local Chinese restaurant owners. Chefs gravitate to their red tent as if pulled by some magnet, drawn in addition to beautiful kholrabi, beets, yellow squash, zucchini, melon and Mediterranian striped squash.

I am particularly keen on the purple potatoes, acorn, delicata, butternut and pumpkin squash in the fall; and the pimento, padron, habenero, jalepeno, cayenne, hot banana and sweet Italian peppers in late summer.  I call Larry the “Godfather of Heat” because I use his full compliment of capsicum to produce such hellish culinary firestorms as my cumin-laced Guatalajaran Pepper Bread with roasted cayenne, padron, hot yellow and jalepeno peppers. I add them to  fresh corn, black beans, roasted garlic, oven-dried tomato, carmelized onion and cilantro. I also use his peppers in my Beelzebub pizza, with  roasted tomato and habenro sauce, fresh oregano, mozzarella and garlic. This year I am buying all my Roma tomatoes, purple potatoes and green peppers from the Cowdry’s for my in-store menu mix, as well as some of the most awesome pattypan squash I’ve ever seen.
July 2009 127

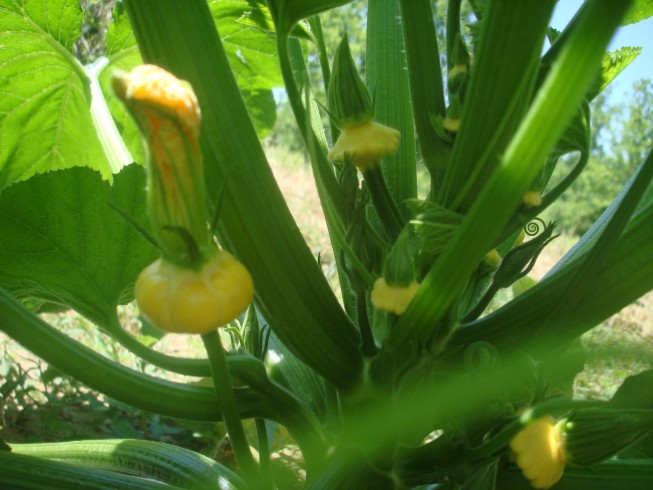
Tender pattypan squash in bloom looks like a Dr. Seuss creation.

Back in the field, I squint at a big hedgerow, pointing to a 12-foot wall of green. “Why is that in the middle of your garden?” I ask with a pompous air of a business consultant.

“John, those are are tomato plants,” Larry answers politely.  I tried to catch a glimmer of an “eye-roll” behind his sungasses, knowing full well I deserve the Stupid Comment of the Week prize.
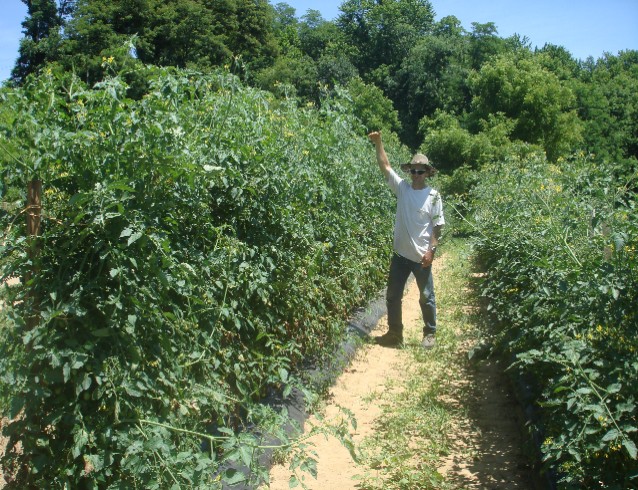
July 2009 085

Larry and his crop of “Tomato-zilla” plants.

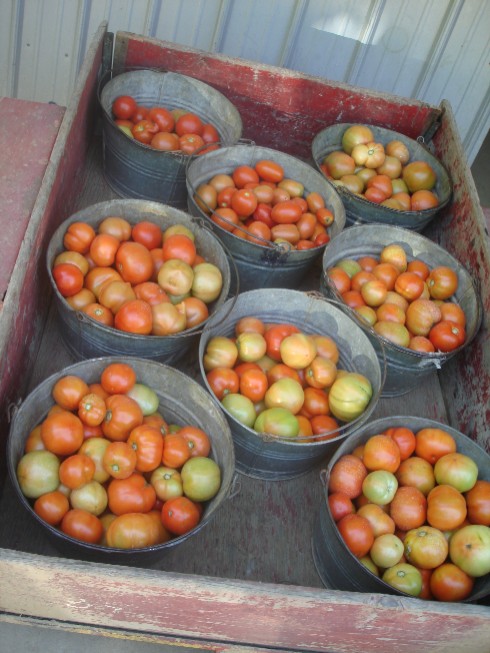
Now that I’m looking at the hedgerow more closely, I see little orbs of yellows, purples and reds speckling the green leaves. The tomatoes don’t stop as I follow the vines above my head. I try to distract Larry while I grab a few. They taste candy sweet.  Now I know which pizza to make: my  Schiacciata Margherita.
July 2009 176 July 2009 059

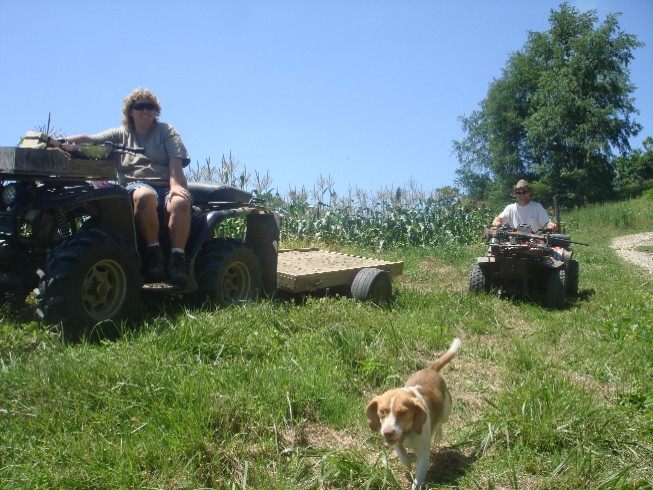
Note: Never get a 4-wheel ride from Kim up a mountain. She belongs in Nascar. Awesome teardrop tomatoes.

Kim tells me to hop on the trailer hitched onto the back of her 4-wheeler. As we drive up the slope from their farm shed to the eggplant and pepper field, I  find myself floating in space. Kim hollers, “Are you holding on?”  I crash down. “Now I am!” I wish for just a few less bumps just as we pass the tall corn and okra fields. At the top, the view of the mighty Ohio is stunning. Across the river, the mountains of West Virginia seem just a stone’s throw away. As Larry points to his bottom vegetable fields, you can see why the first settlers called this flat and productive land Long Bottom.

DSCN1063 DSCN1045 July 2009 047

Chinese long beans, white and Thai eggplant. Athens Farmers Market sign.    Early tomatoes for pickling.

The upper fields are just as productive and meticulously kept, containing all sorts of the previously mentioned peppers along with Japanese eggplant, acorn squash and pumpkins, which are blooming and beautiful. The rolling hills stretch out into the north, leading me to my pizza oven. I must go, but not before buying a copious amount of all sorts of small tomatoes for my Schicciata.
July 2009 051 pizza chowdery farms 011

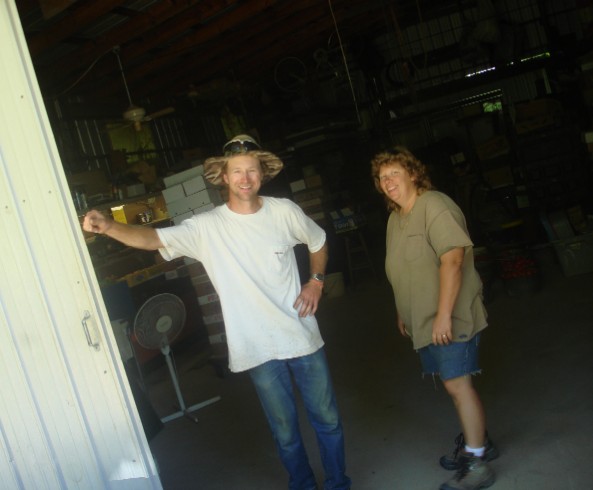
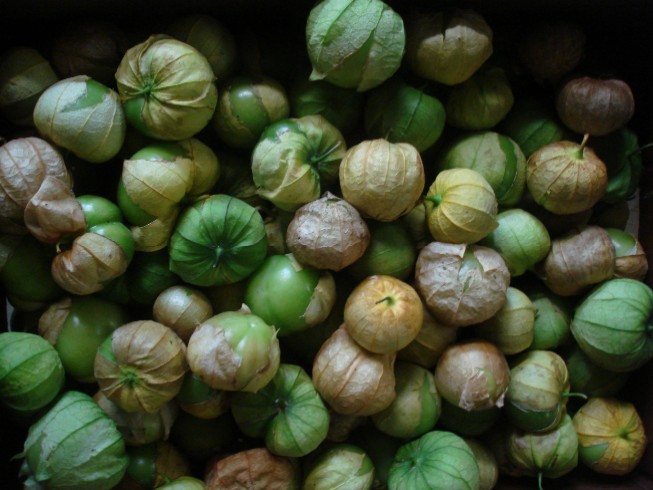
Larry and Kim take a break to laugh at the pizza freak.   The most beautiful tomatillos are grown here.

Cowdery Farms Schiacciata Margherita

Schiacciata dough

1 – 2 ounces fresh basil leaves (probably 20 to 30 leaves depending on size and your tastes)

30 – 40 cherry or grape tomatoes, in different colors for a prettier presentation

8 – 10 ounces fresh mozzarella, sliced thinly (you will tear these up according to your own taste)

1 teaspoon sea salt

1-2 tablespoons extra virgin olive oil

Using the Schiacciata dough recipe, cut a 19 ounce dough ball and set in an oiled bowl for about 30 minutes. Form a football shape, 10 – 12 inches long by 6 – 8 inches wide. Transfer to an upside down cookie sheet that has been dusted with cornmeal. (This will be your pizza peel or large spatula to put on the pizza stone or upturned and pre-heated cookie pan in the oven) Be sure not to push down too hard or you will knock out the gas bubbles that create a bread-like rise.

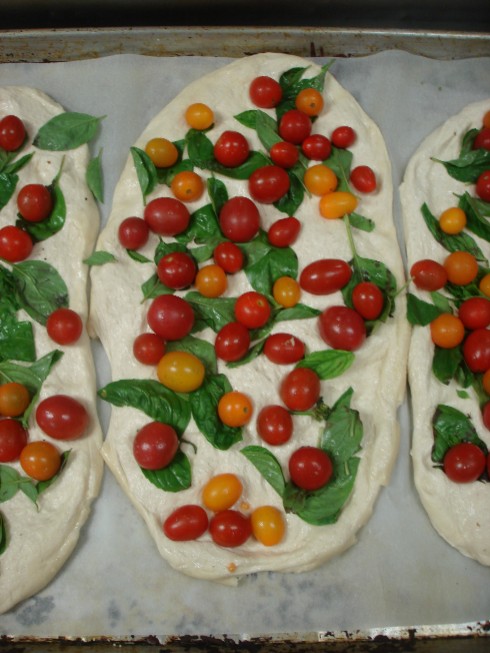
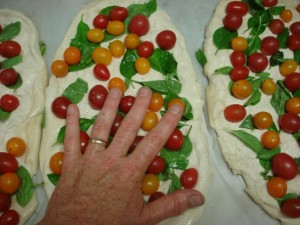
Scatter the fresh basil leaves over the dough. Do not push them into the dough. Place the cherry tomatoes on top and press down gently.
pizza chowdery farms 003 pizza chowdery farms 006

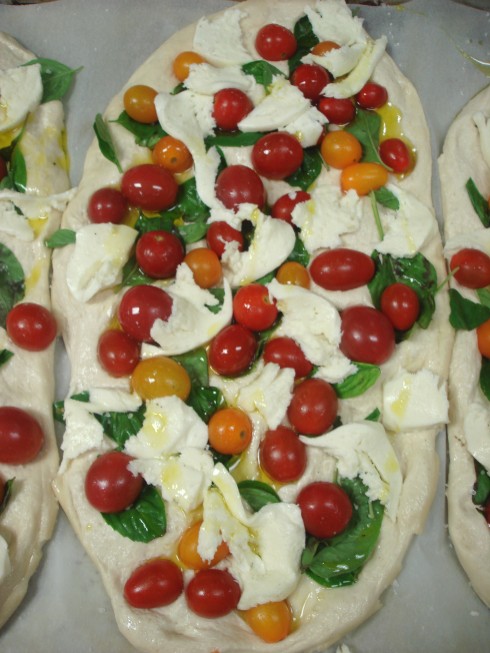
Tear the mozzarella into pieces to get a good “spread” and scatter around the schiacciata. Try to place the mozzarella on top of the largest leaves of basil. This will ensure that the leaves won’t burn, and gives the mozzarella a better flavor. Sprinkle sea salt on top and drizzle all over with olive oil.
pizza chowdery farms 008

Transfer to a warm place for the dough to proof for 15 -20 minutes. Proofing is the final rise where the dough literally “cooks” in the warm air giving a chance for the yeast to eat more sugars and thus create more gas or “rise.” It is especially important with this recipe, as the dough will literally gobble up the tomatoes so they don’t roll off the schiacciata.
pizza chowdery farmsii 002

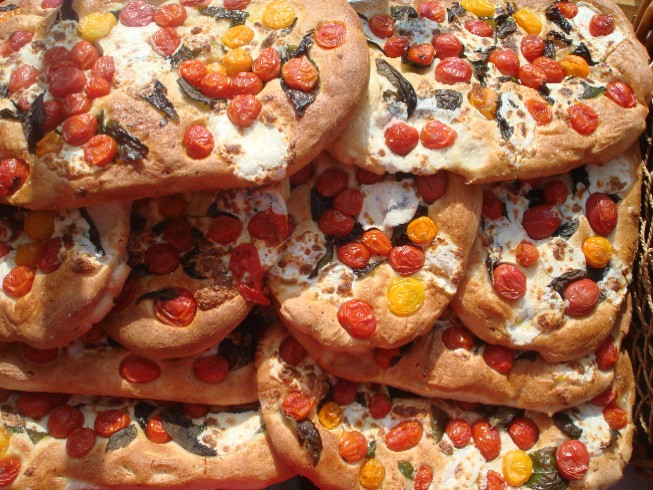
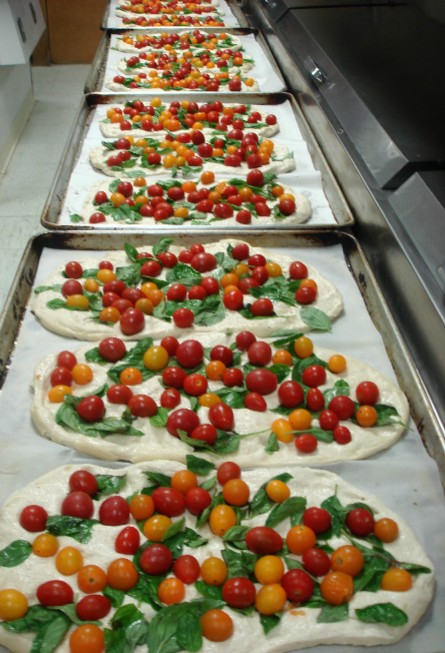
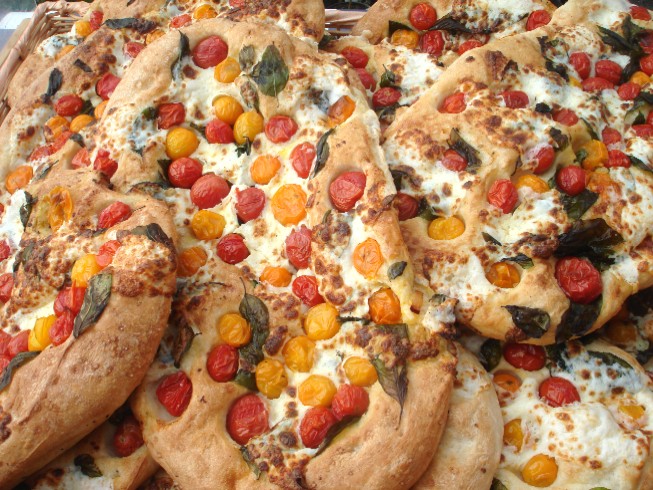
I cook alot of Schiacciata Margheritas, all in one shot. Beautiful, Tasty and an awesome summer sight!

Gently push the tomatoes down again with the flat of your hand before putting in the oven. Slide the schiacciata into the oven onto the pizza stone or tray and cook for 10 to 15 minutes depending upon oven cooking. When golden brown, check the tomatoes and push down if it looks as though they want to “jump ship”. Look at the bottom of the schiacciata for doneness which will be a dark brown. Pull from oven and enjoy the results of this fresh mozzarella pizza recipe.
pizza chowdery farms 012

Upside-down Pizza Margherita

pizzas-and-breads-farmers-market-3262

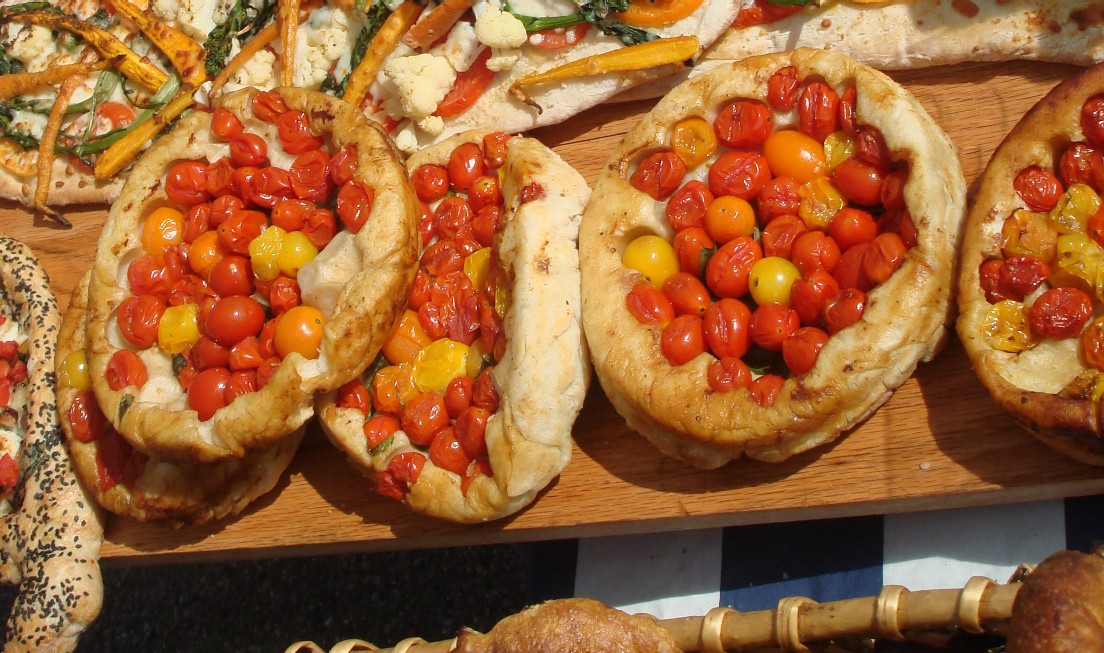
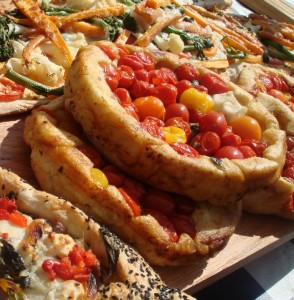
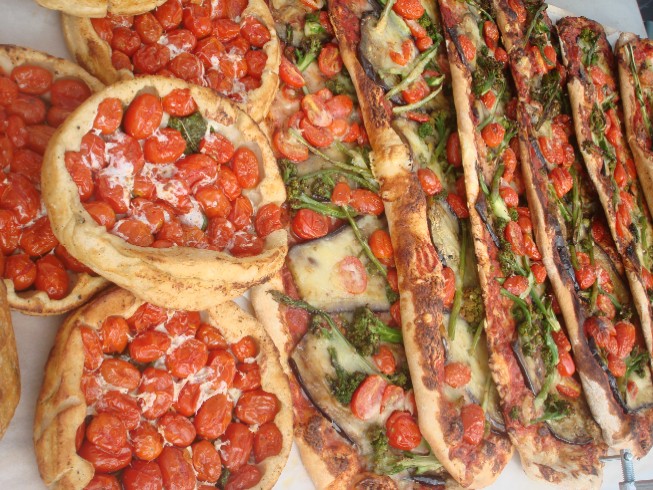
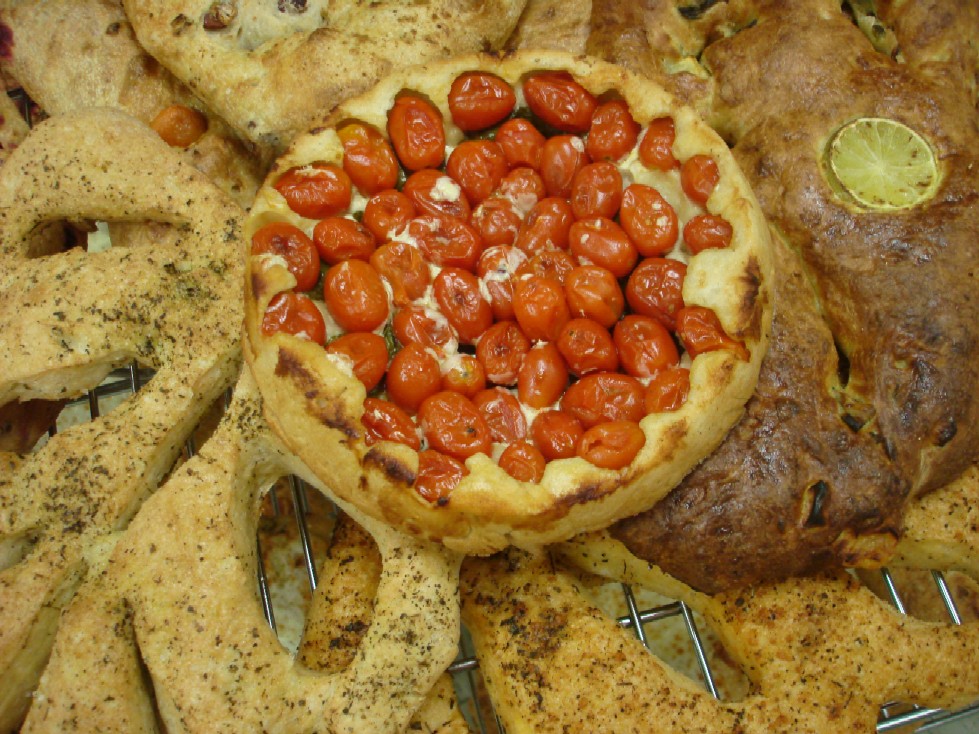
No pineapple here, just a delicious line-up of summertime Margheritas, with a 180 degree twist.

Every Friday I bake breads and pizzas for the Athens Farmers Market.This open-air market has been rated as one of the 10 best in the country by Audabon Magazine. I set up a tent and tables and bring everything I need to conduct this gypsy-like affair in a healthy and profitable way.

dsc04281

Late summer schiacciata with basil, fresh mozzarella and tomato

Severe weather is a hindrance physically, financially and even psychologically. This is because my lead up to the market begins 3 to 4 days before. Coming up with a menu, mixing pre-ferments, roasting vegetables,and obtaining local produce for 300 to 400 breads is a tremendously time-consuming and tedious.

pizzas-and-breads-farmers-market-352 pizzas-and-breads-farmers-market-342

Horticulturalists and farmers are the backbone of the Athens Farmers Market

The weather forecast called for severe thunderstorms during market hours the coming Saturday. I had planned a bumper crop of pizzas, breads, and stuffed fougasse and was crestfallen to hear the news. On Thursday the chance of those thunderstorms went from 50 percent to 70 percent and I stopped making dough for my breads. I had made enough for almost 250 loaves. They were mixed, balled, weighed and retarding in my walk-in refrigerator. I had to make a decision and opted for a wait-and-see game plan. I didn’t know then that, the night before, I’d perfect a pizza recipe I’d been working on for years.

chicago-2008-bread-237

Last batch on Thursday, Peruvian purple potato, tomato, garlic, dill, pickles, onion bread

At eleven o’clock on Friday night, I started baking, even though the forecast hadn’t changed. I imagined the crispness of my breads melting under the 100 percent humidity in the first few seconds outside the door. As I folded, kneaded and cut the fougasse and flatbreads and ciabatta, I put myself through psychological torture, wondering if I would be able to sell the bread that I just put my whole heart into. After finishing the spelt couronnes studded with dried cherry and walnut, I knew exactly what to do.

hilton-head-and-farmers-market-1522

Spelt couronnes (“crown” in French) were to be my last bake.

I stopped.

The liberating feeling of not having to be constantly moving for the next 5 hours was wonderful. I also relished knowing I would not have to make three bread-hauling trips to the market in my too-small vehicle. I knew most of my customers would understand.

It’s an eye opening experience to be all alone for over 8 hours, and I never know what kind of creative new product will come out of that time. When I first started baking 3 years ago, I was amazed and a little bit unnerved to realize that all I had was myself and my work to keep me company. No television, no employees, no customers, no family. Just me, and my breads. A one-way ticket to the inside of your head can be a wierd place, especially with no outside interference.

Sometimes it gets lonely and I start naming the breads, testing myself 5 hours later to see if I could remember “Phil.” Yeah, remember Phil, that Morrocan oil-cured olive loaf that I made more oval than round and didn’t fix after the last proof? Or “Jimmy,” the Ciabatta that got stuck in the oven and caused that new nasty forearm burn. I am never much for thoughts of quantum physics or the dynamics of the “Big Bang” theory when alone. After all, I wouldn’t be able to be called “Goon” or “Pizza Boy” if I excelled in those thoughts.

pizzas-and-breads-farmers-market-001

Oh what tangled breads we weave, when we practice…with a camera on auto timer.

This was great, I thought to myself. I broke the one-person assembly line. Time for a celebration. But what does one pizza fanatic do at 4 a.m. to celebrate the fact that his usual routine is waylaid by the rain? I looked around, dumbfounded. Then, like a gift from the god of pizza, the thought occured to me to perfect the pizza I had been working on and off for years.

pizzas-and-breads-farmers-market-340 hilton-head-and-farmers-market-177

The Upside-down Pizza Margherita.

Just like the classic Ford Pinto is to normal cars, the Upside-down Pizza Margherita looks like a pizza, tastes like a pizza, but really isn’t. It’s a variant of Chinese steamed dough with an Italian flavor profile. Grape tomatoes go into a deep pan first. I cover them with fresh basil, fresh mozzarella, dough, fruity extra virgin olive oil, and sea salt. After it bakes, I turn it over, slide it under the broiler to crisp, and voila! When I take the pan from the oven to a waiting platter for friends and family, I give them a great show of Margherita steam, followed by a succulent, beautiful pizza.

I invite you to take the Upside-down Pizza Marguerita challenge. I’ve noticed that by late summer, as the tomatoes get sweeter and riper, the skins are thinner and the juice increases the steam caught by the dough, so make this pizza now.

june-2009-072

Serves 2 to 3

Easy Dough Recipe

When you strip down all the finesse and personality from a pizza dough recipe, you end up with flour, yeast, salt, and water. I add extra virgin olive oil too because I love the flavor it imparts.

Unbleached flour is best for flavor and vitamins

Just your normal small packets of dry yeast work best. Instant is not as good for longer fermented recipes like this one.

Nothing compliments bread and crust like salt. All-purpose flour requires help with the elasticity of the dough that retains the gasses that form the cells (bubbles for rise) called the “gluten net.” Salt strengthens the process.

Olive oil adds a floral flavor to the dough and helps with manageability and emulsification during mixing. It eases the breakdown of the starches and strengthens the gluten net.

1 1/2 cups unbleached flour and more for kneading

3/4 cup warm/tepid water

1/2 teaspoon crushed sea salt

1/2 teaspoon active dry yeast

1 teaspoon extra virgin olive oil

Mix the flour, salt, and yeast together with dry fingers in a large bowl. Add the water and oil and combine until blended. Cover the bowl with plastic wrap set in a 70-80 degree environment for 4-12 hours. This is the primary mixing of the dough. (Note) The less you let this sit, the more proofing (letting the dough sit and rise in a secondary fermentation) you will need in the next step. For example if you let this mix go for 4 hours, when you cut and make dough balls out of this, you should let them sit for at least 30 to 45 minutes in a 70 to 80 degree environment.

Sprinkle 1 tablespoon of flour on counter top. then remove the dough from the bowl with a scraper or spatula and on counter top, sprinkle flour over the dough. This will help with the stickiness. Divide into 2 parts. Cut the dough in two.

Take one piece of dough in both hands and gently knead the outer edges into the bottom to form a ball. Use your fingers to push dough up and into the center of the ball. You are folding the gluten strands into a cohesive round that will make it easier to form a round pizza. As you gently push more dough under, you will notice the top get firmer, this is a good time to stop. If the ball gets to sticky, roll the ball in flour. Do not over knead.

You should have two 7-ounce dough balls. Place them on an oiled tray and cover with a generous sprinkling of flour and a clean cotton towel for 15 to 45 minutes.

Forming the Pizza

Sprinkle the counter with flour to prevent the dough from sticking.

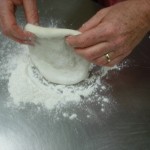
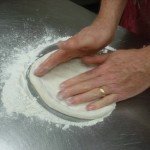
pizza-dough-forming pizza-dough-formingii dough-9

1. Push down center 2. The flip-over 3. The forming

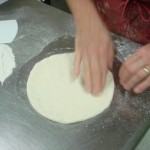
(1) Use your fingertips to push down in the center of the dough ball, making sure not to go near the outer edge, as this will be your crust. (2) Turn the dough over and do the same on the other side. These actions will make the dough flatten while leaving some air (or cells) to expand while cooking. (3) Use your hand to form 1/4 to a 1/2-inch crust while pulling away with the other hand.

doug pizza-dough-forming-iiii dougi

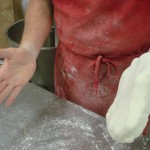
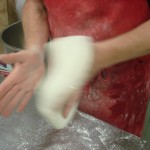
4. The dough slap from one closed-fingered hand to the other

(4) Pick up the dough and place it vertically in one closed hand (some dough may overhang) and slap it into the other hand. This is easier than it sounds. It helps to stretch the gluten strands and helps to flatten some of the larger cells for a uniform crust. This slap forms the round naturally. Do this 3 to 5 times, rotating for roundness.

dougii pizza-dough-forming-iiiii pizza-dough-forming6

5. Back of the hands stretch

(5) Using the back of both hands formed in loose fists, stretch the dough slowly. Feel the dough stretching, turn and continue 3 to 8 times, being careful to not be aggressive. Look at it in the light to see areas that are too thick or thin.

pizza-dough-forming-7 pizza-dough-forming8

6. The final push into form 7. The gluten rest

(6) Brush all flour away from your work area and lay the dough on the table to see your work. The dough will have some “bounceback.” These are the gluten strands contracting from the stretch. Let it rest a few minutes and continue with (7) again until you get a 7 to 9-inch round. Do not worry if the dough is not round (if you make a hole, as we all do, pinch it shut).

Once the round is formed, you are ready for the pizza.

The Pizza Topping (or “Bottomings” in this case)

40 to 60 grape or small cherry tomatoes (enough to cover a 8 or 10 inch round pan)

9 to 12 fresh basil leaves, enough to cover the tomatoes

2 to 4 ounces thinly shaved fresh mozzarella from a log (fresh mozzarella in brine will not work here)

1 teaspoon coarse sea salt

1.5 tablespoons extra virgin olive oil

june-2009-041

Preheat oven to 425 degrees. You will not need a pizza stone for this recipe.
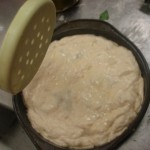
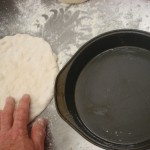
Brush 1/2 tablespoon extra virgin olive oil on the bottom of an 8 or 10 inch deep sided pie pan.

june-2009-042

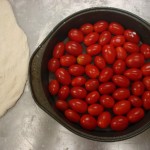
Place cherry or grape tomatoes in the bottom of the pan. Small cherry tomatoes work the best for this recipe as they produce less “holes” where the mozzarella can seep out when baking.

june-2009-044 june-2009-045

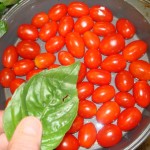
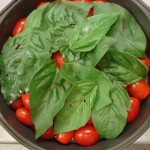
Place large leaves of basil (lettuce leaf basil is great) on top of the tomatoes to create a barrier so the mozzarella will not melt out.

june-2009-046

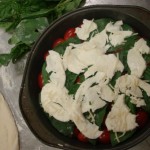
Place finely shaved mozzarella on top of basil, making sure to not overlap. This is the most challenging aspect of this whole recipe-to cook the pie upside down and not let the mozzarella seep to the bottom.

june-2009-048 june-2009-053 june-2009-054

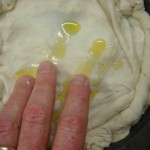
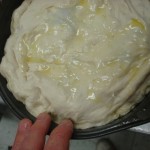
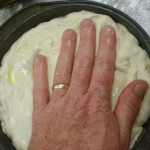
(1) Using both hands so the dough does not stetch too much, place the dough over the ingredients. Brush 1 tablespoon extra virgin olive oil (less for 8 inch pan) on top of the dough. (2) Gently push dough down into the sides of the pan while you spin the pan around. (3) Some tomatoes will pop up under the dough. Push them back down. (Note: do not poke any holes in the dough. It will create a mess when the pizza is place right side up as the juices will escape).

june-2009-056

Sprikle 1 tablespoon sea salt on top of the dough. It may seem like a lot but you do not have it anywhere else.
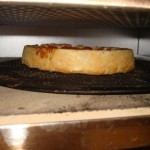
Let the pan rest on top of the oven for at least 15 minutes. This is called “proofing,” where the dough expands and encapsulates the ingredients in the pan. This proofing is quite literally cooking the dough at a warm room temperature and will help cook the dough better when you do the final bake.
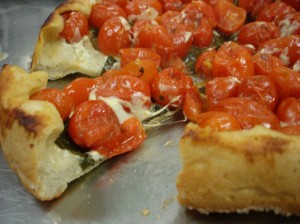
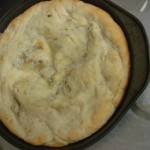
Place in the middle rack of the oven for 15 to 20 minutes. After 5 minutes, check to see if the dough is lifting off and creatiing a big bubble on top. Stop this by either placing another pie pan on top and gently pushing down (do not push too hard or you will pop the tomatoes), or use a spatula to gently press the dough down.

After 15 minutes, check the dough by looking for a darker golden brown on the dough top. If the dough gets dark faster than 15 minutes, place a cookie tray on the pan. Please remember, the challenge is to bake this all the way through without any uncooked dough. Take the whole 20 minutes or if you feel that 25 minutes is needed, continue, as long as the dough on top does not burn.

june-2009-057 june-2009-058 june-2009-059 june-2009-060

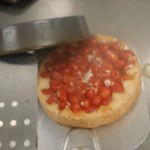
Take the pan out of the oven and place a cookie sheet on the top. Flip very fast and tap the bottom of the pan. Using a spatula, pull the pan partially up and peek under to see that no dough is sticking to the pan. Lift when clear to reveal your Margherita. This is a fabulous presentation at the table. Viola!

pizzas-and-breads-farmers-market-314 june-2009-065

Turn on the broiler on your oven and place a cookie sheet under the broiler. Wait 5 minutes. Place the pizza on the tray to brown the top of the crust and expell excess steam. This will create a nice crispness that is otherwise missing.

june-2009-075 june-2009-0771

(Left) The “Gumline” (a big no-no for pizza aficianados) but a pleasant suprise for an upside down pizza guy.

(Right) Slice that dissapeared in my face. Notice how the proofing encapsulated the tomatoes.

Postscript: The next day, it was beautiful and sunny. So was my little troupe of 7 upside-down pizza Margheritas.