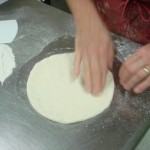
Serves 3 to 8
Schiacciata Dough Recipe
The term “Schiacciata” (Skee-ach-iata) literally means “Flattened” in Italian. Many different types of Schiacciata abound in Italy with differing recipes and procedures. The most famous is the Tuscan Schiacciata Con l’uva, or grape bread. In the autumn, the bread is made with grapes left over from the harvest. These are usually made using egg and milk for a more cake-like consistency.
At the World Pizza Championships, I see all types of Schiacciata. Most of the savory versions do not have a large cake-type rise or sweet egg-dough. Instead, they have more a consistency of pizza dough. In fact, the 2009 Pizza of the year was a schiacciata by Salvatore Chierchia, http://www.pizzanew.it/contenuti/visualizza_immagine.php?pk_immagine=830 shown here with Ms. Italy.
These pizzas or flatbreads or cakes called Schiacciata are up to the whim of the baker or pizziaola which is a great thing. In 2007, the World Pizza Championships in Salsomaggiore also had a second place winner with a small version of this type of dough. http://www.pizzanew.it/contenuti/visualizza_immagine.php?pk_immagine=340
This part is the same as my classic pizza dough recipe. When you strip down all the finesse and personality from a pizza dough recipe, you end up with flour, yeast, salt, and water. I add extra virgin olive oil too because I love the flavor it imparts.
Unbleached flour is best for flavor and vitamins
Just your normal small packets of dry yeast work best. Instant is not as good for longer fermented recipes like this one.
Nothing compliments bread and crust like salt. All-purpose flour requires help with the elasticity of the dough that retains the gasses that form the cells (bubbles for rise) called the “gluten net.” Salt strengthens the process.
Olive oil adds a floral flavor to the dough and helps with manageability and emulsification during mixing. It eases the breakdown of the starches and strengthens the gluten net.
1 1/2 cups unbleached flour and more for kneading
3/4 cup warm/tepid water
1/2 teaspoon crushed sea salt
1/2 teaspoon active dry yeast
1 teaspoon extra virgin olive oil
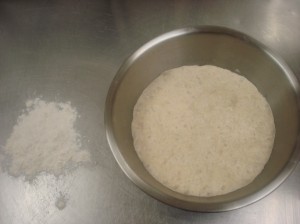
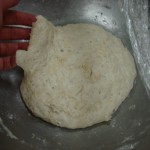
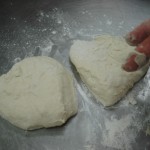
1. This is a 5 hour rise 2. Dough ready for balling
Mix the flour, salt, and yeast together with dry fingers in a large bowl. Add the water and oil and combine until blended. Cover the bowl with plastic wrap set in a 70-80 degree environment for 4-12 hours. This is the primary mixing of the dough. Note: You can let it sit for only 3 hours, but the dough will need a longer secondary proofing for at least 45 to 60 minutes in a 70 to 80 degree environment.
Balling the dough and secondary proofing
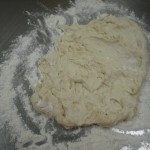
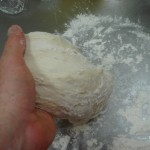
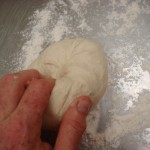
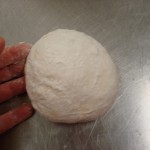
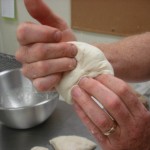
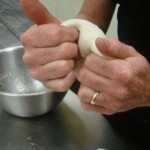
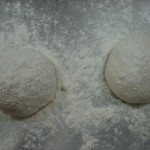
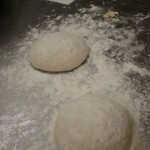
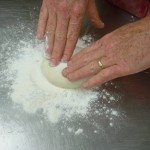
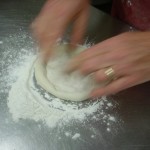
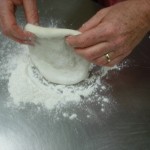
1. The dough 2. Folding the gluten. 3. Making the dough ball. 4. Secondary proof
Sprinkle 1 tablespoon of flour on countertop, then remove the dough from the bowl with a scraper or spatula and place on countertop. Sprinkle flour overthe dough to help with the stickiness.
Take all the dough in both hands and gently knead the outer edges into the bottom to form a ball. Use your fingers to push dough up and into the center of the ball. You are folding the gluten strands into a cohesive round that will make it easier to form a pizza. As you gently push more dough underneath, the top will get firmer. This is a good time to stop. If the ball gets too sticky, roll the ball in flour. Do not over knead.
You should have one 14 ounce dough ball. Place it on an oiled tray and cover with a generous sprinkling of flour and a clean cotton towel, for 15 to 45 minutes.
Forming the Schiacciata
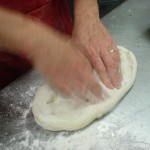
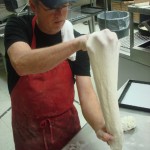
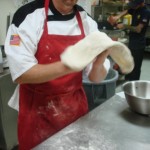
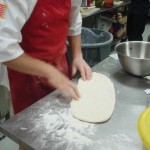
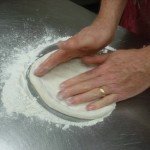
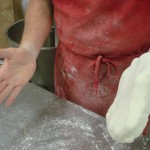
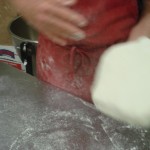
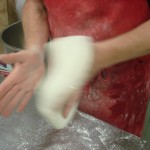
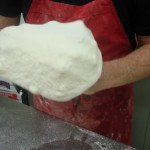
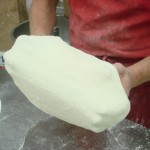
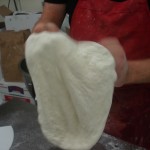
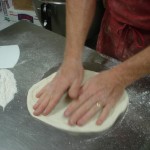
1. Pushing into oval 2. Gravity stretch. 3. Two handed stretch. 4. Rest on countertop.
Take the dough ball in both hands and stretch it into a football shape. Set on a lightly floured countertop and push with fingertips sideways to push gluten strands into shape. Go all the way to the edge with fingertips.
Hold the dough over the countertop. Using the back of your hand, let gravity pull the dough into an elongated form. Make sure the thinner parts don’t rip. Set it down on the countertop and manipulate the dough to even out the thick and thin areas.
With the back of both hands, place with fingers together in the center of the dough. Slowly pull them apart while opening your fingers. This will gently massage and stretch the dough in an elongated form.
Leave the dough on the countertop to rest for 3 to 5 minutes, do not let it sit for longer as it will begin to stick to anything. With this all-purpose flour recipe, there shouldn’t be much “bounceback” (when the round or oval pizza dough contracts back) but there may be some.

