This second post about obtaining yeast the old fashioned way, it deals with making a dough out of that starter. Simply put, it’s a great no yeast pizza recipe.
This will entail gently coaxing more and more yeast cells to take an active role in the feast of the sugars in my flour thus creating the gasses I need for the dough to rise. Then I will hit it with the heat for a nice tasty crust. Here’s my goonish explaination during a weeknight rush at Avalanche Pizza.
Recipe:
1 Cup starter from the Wild Yeast Pizza recipe. (last blog post)
1 Cup Bread flour
1 teaspoon salt
1 teaspoon extra virgin olive oil (optional)
**This recipe works best if you feed your starter the night before and leave it out to proof. This will enhance the feeding frenzy of the yeast and speed up the development of your dough.**
Mix one cup of the starter with one cup of the bread flour.
add the oil and the salt after mixing with your hand. If the dough is too stiff, add water. I prefer a stiffer dough but many bakers and pizza guys think a sticky, soft dough does a better job as it rises faster.
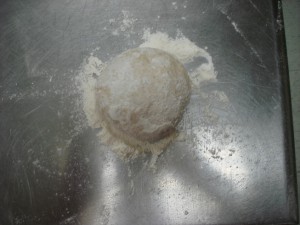
You now should have a 12-13 ounce dough ball, either cut in half (for 2 small 9-10 inch pizzas), or one do not cut (for a large 12-14 inch pie crust.)
Cover with a wet cloth and let sit for 1 hour. Then refrigerate for 4 hours. This will slow the yeast activation giving it time to slowly eat at the sugars. This aging process is what I use for all of my pizza dough the, making a better taste and a more consitant rise. ((*if you are impatient, and the dough is rising fast, please feel free and form your pizza round.))
It’s at this point that I must remind you that you are working with all natural yeast now and it takes some time to get the intense rise as you experience with commercially bought yeast. This is why most bakers will add a small “Kicker” of store-bought yeast to boost the rise of the dough. If you are a purest, or just a masochist-like me, don’t do it. As you pass the months by, conducting the feeding process of your starter, the flavor will intensify and the rise in your dough will be more immediate and predictable. Now only after only 8 to 10 days, the natural yeasted experience is still in it’s infancy.
After the 4 hours in the fridge, let the dough balls sit out over night covered with a damp cloth to keep it from forming a crust.
By the next day, the dough should have risen. The gluten strands should be stretching now with the gasses. This is your proofed rise.
If you see holes or pits where the dough looks as though it is cracking where gas has escaped, your gluten strands may not be strong enough to keep the gasses in from either your flour not being strong enough or because your kneading was not consistant enough. Don’t despair, you can re-knead the dough and wait for at least 1 hour before continuing.
Preheat your oven at 475 degrees
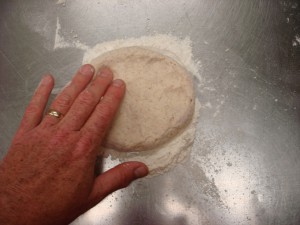
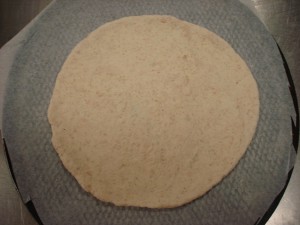
Take the dough and form a pizza round from the easy dough recipe in this blog.
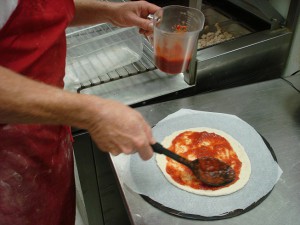
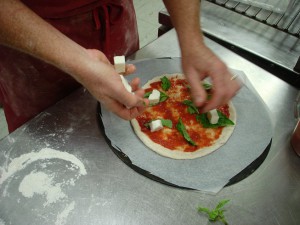
Top this pie with anything and everything you want. I started out simple because if I messed this up, I didn’t want to have to make all my toppings up again. I put a large spoonful of organic tomato sauce, some fresh basil, whole milk, fresh mozzarella, sea salt and extra virgin olive oil. (Here I put the pizza on parchment and on a pizza screen because I was using a pizza oven.)
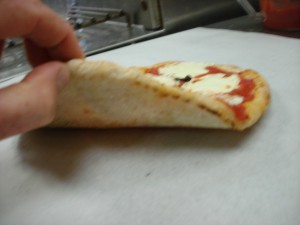
After 12 minutes at 475 degrees, the dough, although a thinner crust, rose nicely, showing a fine cornicione (corn-e-CHON-aye). This is the crust around the edge where you can see the cell structure formed by the gasses. Alot of Italian judges in competition will press down on this crust to test for a bounceback- a sign of a great cornicione.
Well, now that I have a great starter, I’m gonna grow this monster to make some bread. Maybe, if I get good at it, I’ll do another post on it.
Semper Pie
jg


