The best thing about yakitori is that it encompases all the tastes and textures I remember from Japan. First there’s that caramel-like tang of soy and sugar, a sweet and salty assault. Then comes the sour char of those sugars as they are put to the fire, released with a nominal crunch when you bite into the flesh. When you chew, the meatiness of the chicken and the cabbage-textured leek (or scallion) reveal yakitori’s true depth of tare, or concentrated sauce.
Let me get started on what challenges I face, making a pizza version of yakitori.
Question: What the heck type of cheese should I use, or should I use any at all? It’s either got to compliment the taste of the chicken without overpowering the subtlties of the reduced sauce, or act as a foil without ruining the damn pie.
Goonish answer: The best cheeses I’ve found to compliment umami qualities are Parmesan, Gruyere, and Roquefort. I’ll use Parmesan and some creamy chevre atop fresh mozzarella.
Question: What type of sauce should I use? A reduction of the tare? Tomato? Seaweed? Anchovy?
Goonish Answer: I made a broccoli-stem pickle the other day with red miso. I love the salty-sweetness of this stuff so I will schmear (deli term) a little on the dough after mixing it with a quick splash of water.
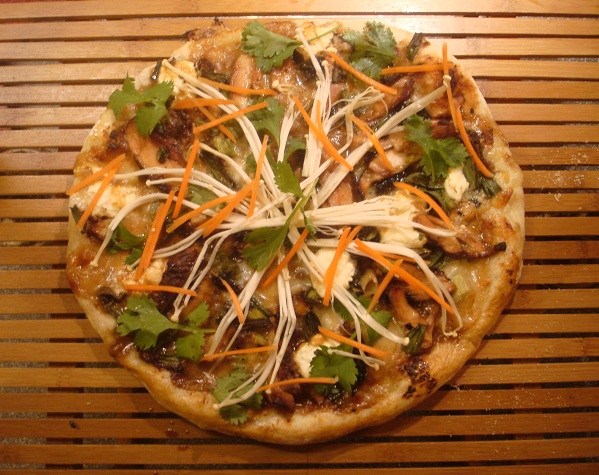
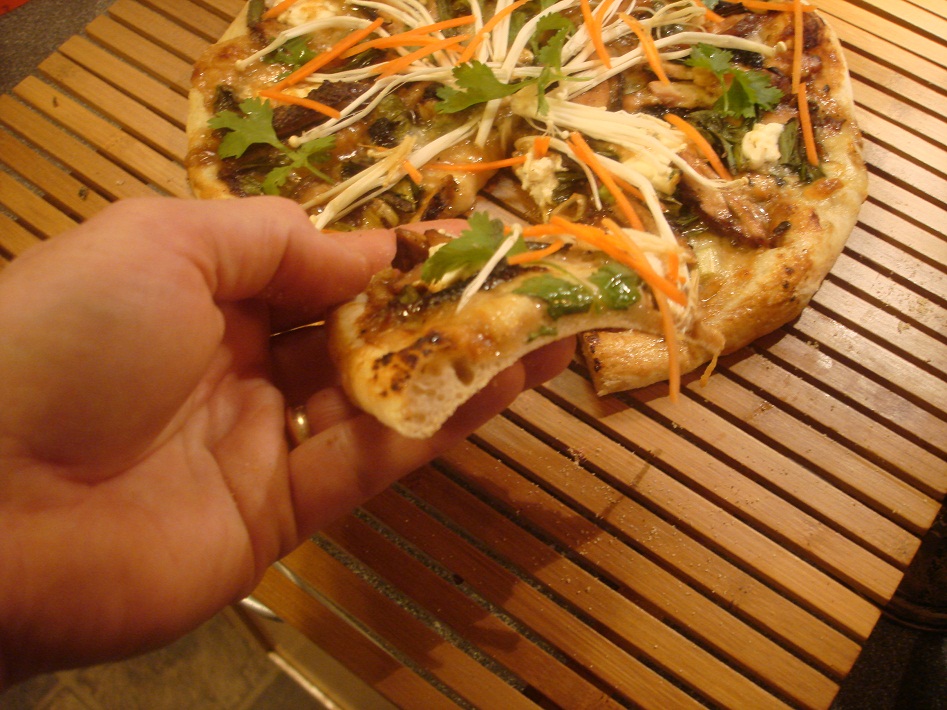
So whatta we waiting for? Here’s the Yakitori Chicken Pizza.
1 seven-ounce dough ball from the Easy Dough Recipe
For the Tare:
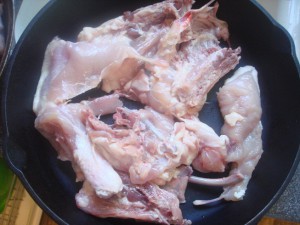
Bones from one whole chicken, or 4 or 5 chicken backs, or even wing bones from a previously cut chicken (enough to fill a large saute pan)
3/4 cup sake or dry white wine (not Vermouth)
1 cup Japanese soy sauce (not Kikkoman)
1/2 cup Mirin (Japanese cooking wine) or sweet wine
2 tablespoons sugar
Preheat oven to 350 degrees.
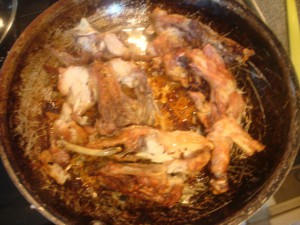
Place the bones in a large heatproof saute pan and put in the preheated oven for 45 minutes to 1 hour, turning once. You want to roast the bones to release the deeply browned flavor. A liquid should start appearing at the bottom after 30 minutes and will turn more brown with time. Pull this out before it gets black.
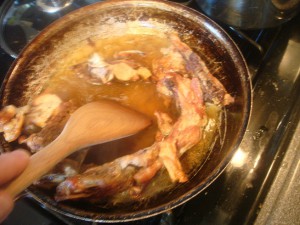
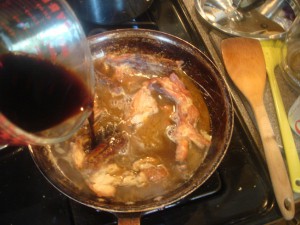
When the bones have browned properly, put the pan on high heat and add the sake. Turn the heat to medium high and scrape the bottom of the pan with a wooden spoon to release what Anthony Bourdain calls the “Nasty Bits.”
After 7 minutes, and once the bits from the bottom of the pan are incorporated, add the soy, mirin, sugar. Simmer on medium-low for 30 minutes.
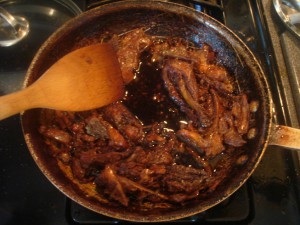
After 30 minutes, the stock thicken slightly. Turn the bones and scrape the pan again, ensuring all the crusty flakes are free. This is when the flavors will come together into what chefs call a fond. Add the chicken stock and simmer for another 30 minutes.
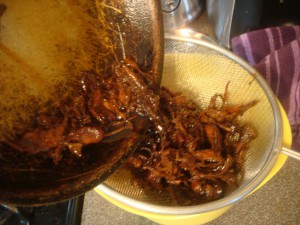
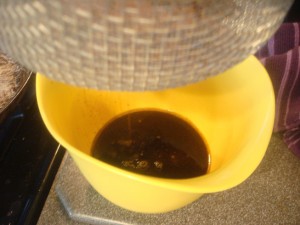
Strain the stock and throw the bones out. This is your tare. You may reduce a little more or add more chicken stock if it is too thick. It may not seem too thick but as it cools, it will thicken. Some fat may rise to the top depending on how much skin you initially put in the pan. (I like to keep some fat in the tare- it’s killer flavor.)
For the yakitori chicken:
2 skin-on, bone-in, chicken thighs (Throw another one in for yourself; otherwise you’ll end up eating them all.)
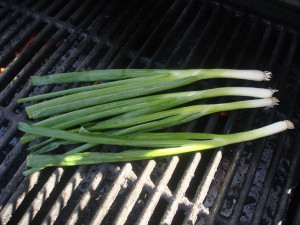
4 spring onions
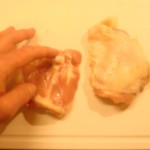
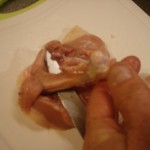
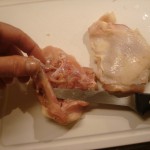
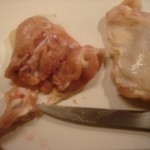
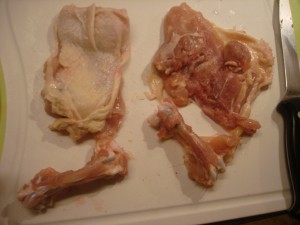
Grab the thigh bone from the middle of the thigh. Using a very sharp boning knive, cut down and scrape the meat from the bone. When you get down to the joint, use a series of cuts around the bone and cartlage to free all the meat. Take your time.
You will end up with two boneless, skin-on thighs, ready for the grill.
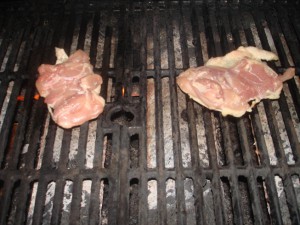
Turn your grill on high. When the tempreature is at 450 to 500 degrees, place the chicken thighs on the grate skin side down. (This will oil up the grill, so when turned, the meat doesn’t stick). After 4 minutes, turn the chicken over and cook, flesh side down, for 4 more minutes. If the fat from the chicken flares up, move the chicken. When the outside of the chicken looks cooked overall, dip it into the tare and return to the grill. Continue to dip for 3 or 4 times. (NOTE: Yeah, I know this is not how the yakitori masters do it, but we are making pizza, for chicken’s sake.)
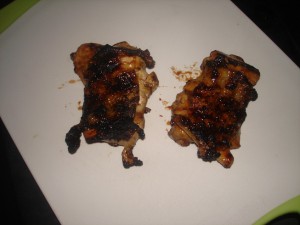
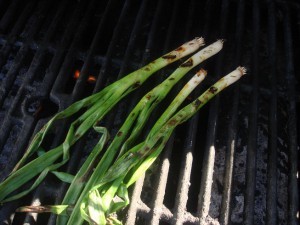
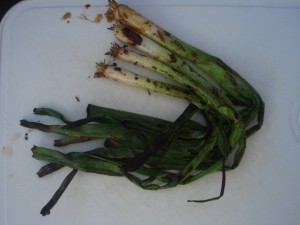
After 12 to 16 minutes, the thighs should be cooked through and the sugars in the tare should have carmelized on the skin, causing the heat to blacken it in some places. This is what you want. Keep the grill on and throw the onions on, turning once after 2 minutes. Apply the tare with a brush. Wait 2 more minutes and turn and apply the tare again. Cook of an additional minute. Remove. Cool slightly, then cut into strips.
For the Pizza Assembly:
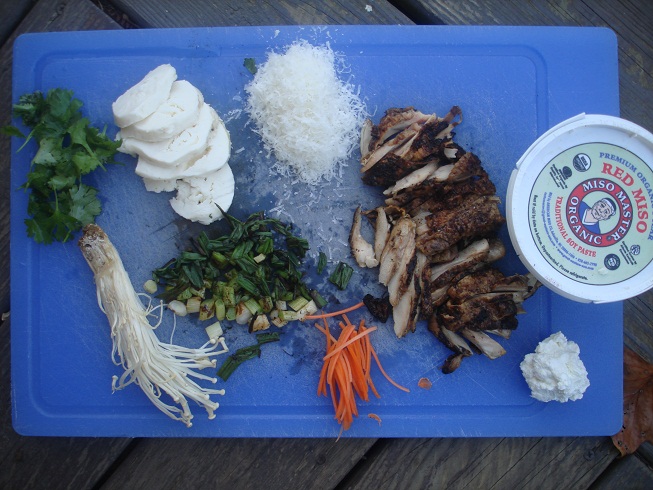
1 tablespoon red miso, stirred in a small bowl with 2 tablespoons water
2 tablespoons grated Parmesan
1 large ball fresh mozzarella
scallions cut into quarter inch segments
3 tablespoons creamy goat chevre
For garnish: cilantro leaves, enoki mushrooms, julienned carrot
Preheat pizza stone in your oven to 475 degrees.
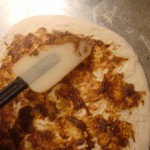
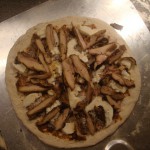
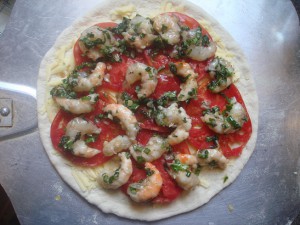
Form the round of dough and place on a pizza peel with semolina or cornmeal. Brush the red miso on the dough and place the Parmesan on top. Arrange the fresh mozzarella on the Parmesan, then the chicken slices, followed by the onion and goat cheese.
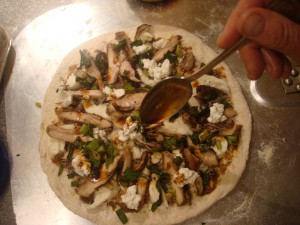
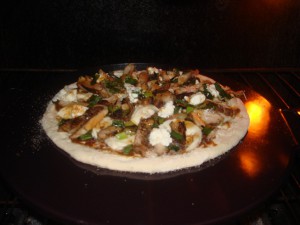
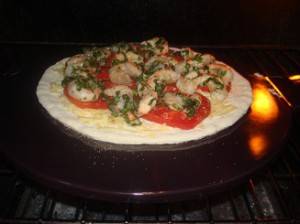
Finish the pizza with another two tablespoons of tare, then slide pizza onto your preheated pizza stone. Or use parchment paper on an upturned heavy cookie sheet. This is my Emile Henry pizza stone and no matter how hard I cut on it or drop it, heat it, it stays hard and clean and unchipped.
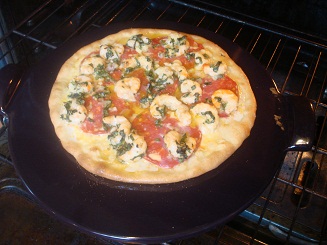
Cook this pie for 14 to 16 minutes, or until the crust is golden brown and the bottom is dark golden brown.
Here’s to you, yakitori masters of the world! By the way, if you are ever in Athens, Ohio, stop by for our yakitori pizza at Avalanche Pizza.

