Don’t you just hate when bloggers apologize for not doing a post? The excuses can be endless and they usually lose me at “Sorry, but my cat…” So I’m just gonna just shut up and show you some stuff I’ve been doing instead of writing blog posts:
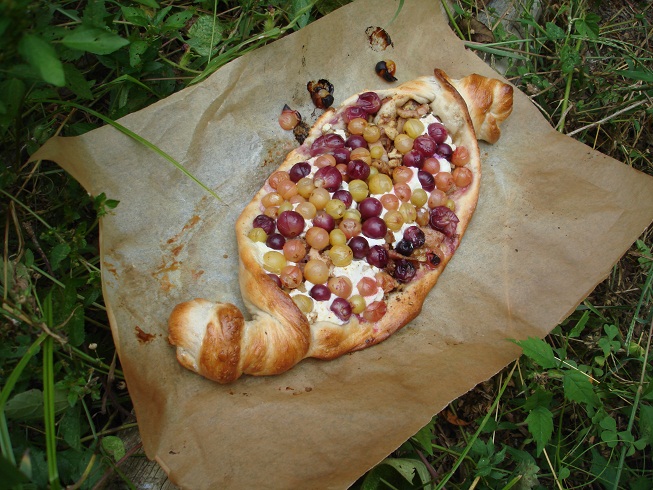
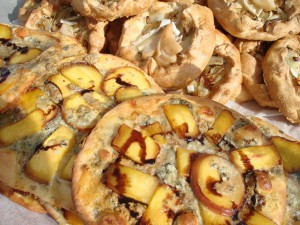
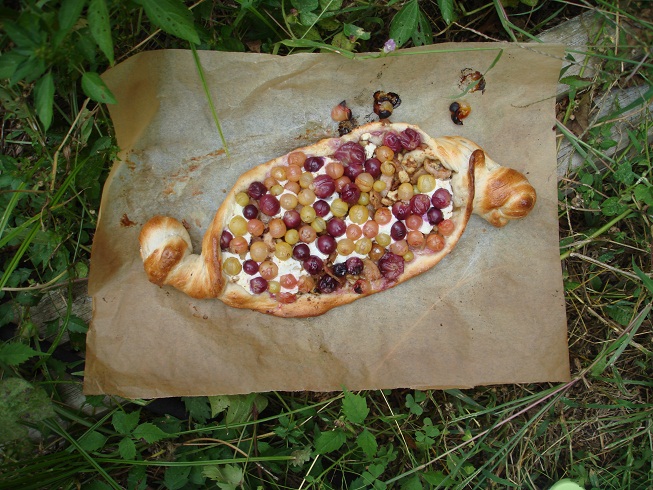
I made about 30 of these pides last Saturday, including the Turkish pide with grapes. Not to mention the the Nectarine/Stilton pizza (right) and the Brie Boat with pear.
Along with the Ohio University students coming back, I’ve been scrambling to accomodate my bread lovers at the Athens Farmers Market. Here are just some of the 300 breads, pizzas, flatbreads and other weird stuff I did on 9-11-2010. (Take it easy on a critique of my presentation, dudes. I just finished 12 hours of baking, plus my customers were breathing down my neck.)
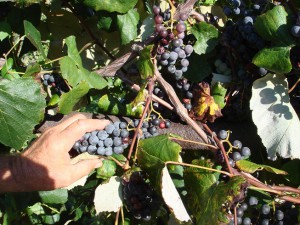
You’ll notice the Turkish Pide with the grapes. That’s what we are gonna make today. But first let me take you to where I got the grapes: Neil Cherry Vineyards and orchard in Crookville, Ohio where we visited last year for the Schiacciata Con L’ Uva or Tuscan Grape Harvest bread.
The skins of these heavenly grapes are thick and chewy and exude the brightest of grape flavors, along with watery flesh that explodes in your mouth. They are best described as “That’s what grapes tasted like in my youth.” Yes, these three varieties of seedless grapes have a grape quality that only local, unsprayed, real grapes have .
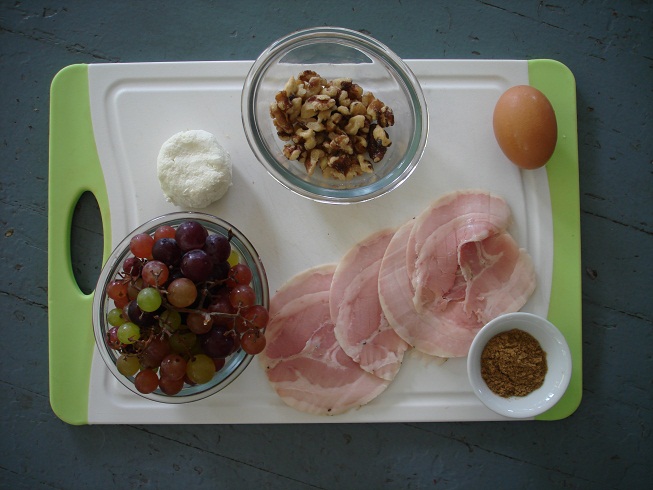
Here are some other grapes we are gonna use.
You may laugh at this recipe, but I don’t care. I love cumin with grapes, chevre and bacon! This baby’s got the fatty, salty pancetta (Italian cured-but not smoked-bacon), the creaminess of local Integration Acres chevre’ (creamy French Goat cheese), the sweetness of these killer grapes and the unexpected crunch of walnuts.
Let’s go.
Preheat a heavy cookie sheet placed upside-down in your oven at 475 degrees F.
Using the Easy Dough Recipe on this blog, cut a 7 ounce dough ball and freeze the other for later use. For this recipe, use bread flour. It has more protein iand therefore will stretch better when “tying a knot” with the dough.
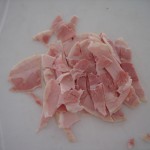
3-4 slices of pancetta (bacon will do but will leach more liquid than the pancetta. I will cover that later so don’t worry.)
1 teaspoon plus 1/2 teaspoon of extra virgin olive oil
1 heaping teaspoon cumin
1 quarter cup walnuts, pounded into small tooth-like pieces
1 inch thick piece of chevre
1-2 cups of seedless grapes
1 egg for eggwash
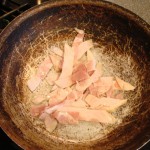
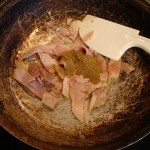
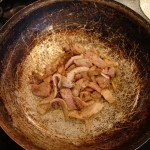
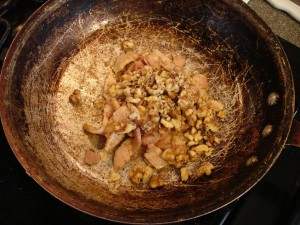
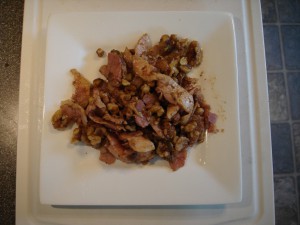
Place the pancetta in a saute pan under medium high heat with the teaspoon of olive oil and sweat the juices. Toss well for 2-3 minutes. (If using bacon, cook longer but avoid browning it.) Add the cumin and the 1/2 teaspoon extra virgin olive oil. (If your pancetta created enough oil to soak up the cumin and still leave oil, do not add the extra oil. This will probably happen with the bacon.) Cook for 2 minutes more.
Add the walnuts and saute for only 1 minute. Set aside for the pizza.
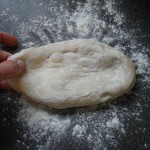
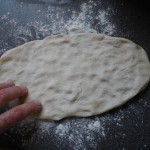
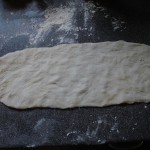
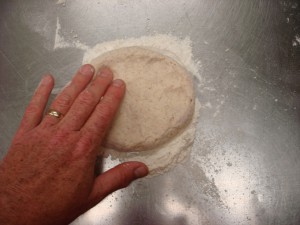
Take the round dough ball and pull on opposite ends to form a football shape. Using you fingertips, press out into an even larger footabll shape, measuring 12 to 14 inches across. This will be your Pide base.
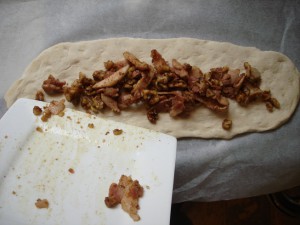
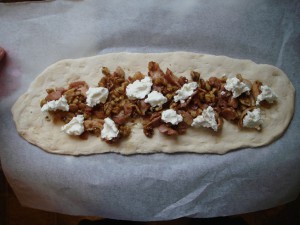
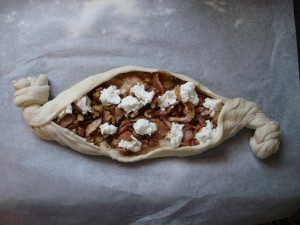
Place the dough on parchment, then place the pancetta, cumin, and walnuts on the dough and spread it out. Place the chevre on top in small dollops, all around the dough.
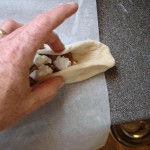
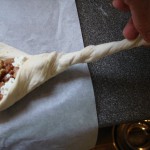
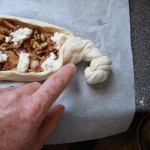
To tie the knots, start on the middle of the boat-like dough. Pull up from the middle to the end. The dough will slacken when you get to the end. Grab this dough and start spinning or twisting the dough, gabbing any slack that may make the middle of the boat fall back down. Gently pull the twisted end and tie in a knot.
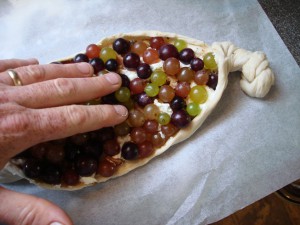
Place the grapes all around the top of the pide. Some may fall off. Press down but not hard.
Crack the egg and scramble with a fork or whisk. Brush this eggwash all over the outside edges of the pide. Dab enough egg on each end knot to sink it into the folds.
Place the pide on the preheated cookie sheet and bake for 9 to 11 minutes or until the bottom is dark brown and the top is golden brown.
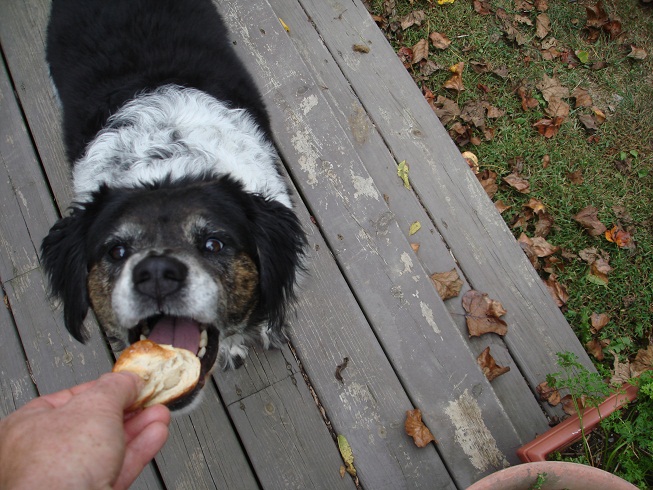
Pull out and enjoy with your dining partner. Woof!

